I made up a couple of these for Hazel when we took her out of night nappies just over a year ago and they've been brilliant. Instead of having to change the whole bed you can usually just take off the wet sheet and put on another. So much faster than pulling apart the whole bed at 2am!

I gave away one of them not long ago because she just wasn't having any accidents, and wouldn't you know it she went through a 'phase' so I made up another one (and now the phase seems to be over!). I thought it might be useful to document the process because they're really very simple to make and doing it yourself is not only cheaper but you have your choice of fabulous fabrics! Essentially what you have is a cotton top and a waterproof PUL bottom (which rolls around the edges to the top and stops moisture leaking off the edges), with a slightly absorbant inner layer. It's held onto the bed by long flaps which tuck well under the mattress and hold it firm.
What you'll need:
1 x top fabric in 100% cotton
1 x inner absorbent fabric
1 x PUL fabric
2 x fabric for side flaps
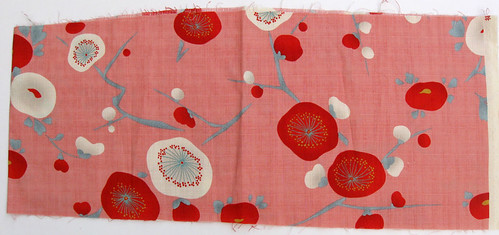
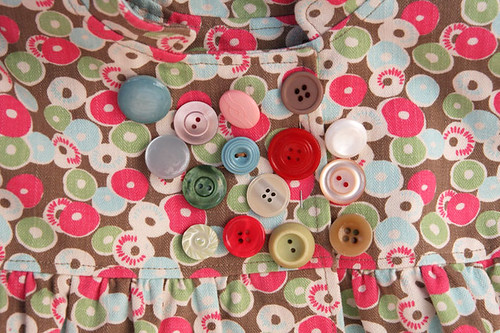
A note on the fabrics: Choose good quality 100% cotton for the top, if the fabric has a synthetic component it won't absorb the liquid as quickly, if at all, meaning it's more likely to run off the top and onto the bed. I've used quilting cotton for my sheets. You could use a variety of absorbent fabrics for the inner, in this case I used an old piece of flannel. It doesn't need to hold the moisture for long, just enough time for you to get the sheet off the bed. Finally, the PUL - this is the polyurethane laminated woven fabric that is used in modern nappies/diapers, it's waterproof, thin and flexible and easily washed. It's readily available online from nappy making supply stores and it comes in a rainbow of colours and patterns. I've gone for boring old white because I like the clean edges it gives on the finished sheet. It might be a functional item but they can be aesthetically pleasing! My flaps are made from old polycotton sheets I had hanging around - whatever you've got that is big enough will suit!
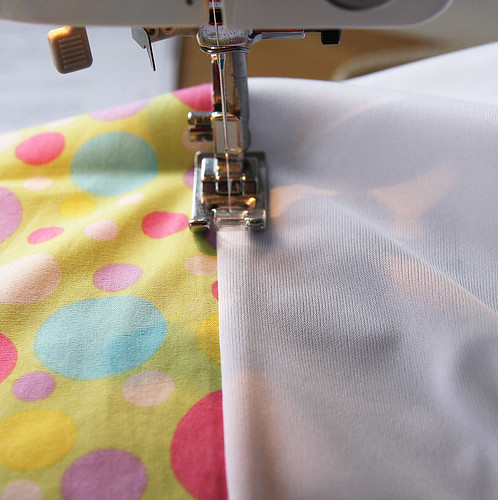
A note on sewing with PUL: PUL can sometimes be tricky to sew as it is slippery on one side and has a tendency to stretch. Making sure the shiny side is down when sewing makes a huge difference, the presser foot just doesn't seem to move over it well. If you need to pin, make sure you pin within the seam allowance as any holes outside that will compromise the waterproofness. Use a nice sharp needle too. It's not too bad on this project as it's all straight lines. Overlockers/sergers are handle it brilliantly, although again, make sure it's shiny side down.
*All photos can be viewed in a larger size by clicking through to Flickr and selecting the original size from the 'all sizes' option.
1. First off measure your bed to determine fabric amounts. The cotton, inner and PUL need to be as wide as the bed top plus 2cm (1") for seam allowances. The depth (top-to-bottom measurement) is up to you, the one I made is 70 cm (28") largely because that's the size of the piece of PUL I had left over. Slightly narrower is fine, although you begin to run the risk of the child being off the sheet when the accident occurs. The PUL needs to be 5-6cm (approx. 2-2 1/2") deeper than the cotton and inner fabrics in order to be able to roll up and over the edge. In order to figure out the flap size, measure from the top edge of the bed, down the side and to about half way across the bottom of the mattress. Then add 3cm (1 1/4") for seam allowance and a hem on the far edge. This is your width. For the depth you need to figure out what the finished measurement of the cotton/inner plus the PUL edging will be and add 4cm (1 1/2") for hems. The seam allowances are up to you - I've allowed 1cm (1/2"), and for hemming 2cm (3/4").
The measurements for my single bed sheet are as follows:
Cotton and flannel: 99cm wide and 71 cm deep
PUL: 99cm wide and 76 cm deep
Flaps (x2): 72 cm wide and 73 cm deep
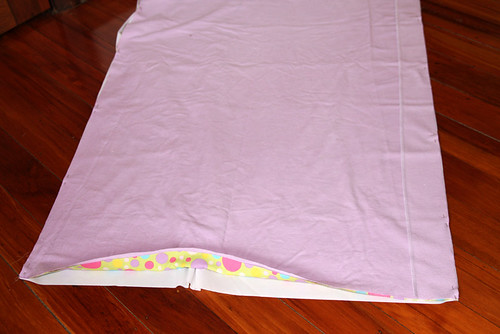
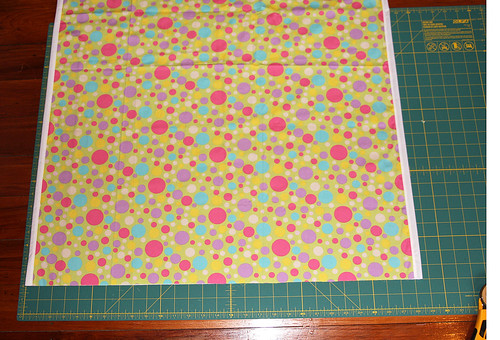
2. Putting it together. Layer the cotton, inner and PUL in this order: PUL shiny side (waterproof) down, then cotton right side down, then inner (in this case right side down because I had to sew two bits together and wanted the seam away from the top). Align the fabrics down one edge - there will be excess PUL sticking out the opposite side. Pin, taking care that they stay within the seam allowance. Shift top fabrics over and align edges with other PUL edge. You will have loose PUL in the middle (see photo below). Sew both edges with a 1cm (1/2") seam to form a tube.
 3.
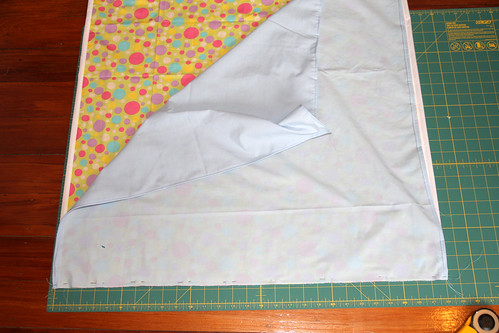
3. Turn right side out so that the fabric side of the PUL is facing down and the cotton is right side up. Edge stitch with the seam allowance on the PUL side. This is one time when you shouldn't iron as you go - it's not good for the PUL! Just pull the seam flat from either side as you stitch.
 4.
4. Get the tube sitting nice and flat and then square off the edges. You can see in the photo below how the PUL is wrapped around the edges.
 5.
5. Hem up the side flaps making sure they match the finished depth of the tube. I fold the edge and then fold again to give a neat appearance.
6. Pin the flaps to either end of the tube, right sides together, and sew with a 1cm (1/2”) seam. If the PUL is shifting around too much you may want to tack the tube closed within the seam allowance first. Finish the seam by zigzagging if you haven't used an overlocker.
 7.
7. Edge stitch with the seam allowance on the flap side.
 8.
8. And you're done! This sheet had been on Hazel's bed for 2 days and hasn't shifted at all.
As the sheet is used and laundered you may notice the top fabrics shrinking a bit, making the PUL slightly looser. I find that just tugging them back into shape takes care of that to a large extent. Ironing PUL isn't recommended (it can melt), but you can safely put them through a dryer as long as it doesn't get too hot.
ETA: I forget that people don't know what PUL is because I lived and breathed PUL nappies for a couple years while Hazel was wearing them, it seems second nature! I found this good link to a more comprehensive
explanation of what PUL is than mine, and the lady sells it by yard too. I'm afraid I'm pretty out of the loop with the best places to buy it these days, so if anyone has some good links pop 'em in the comments! In New Zealand
Greenbeans is probably your best bet, although heck, that might have changed in the last couple years too!