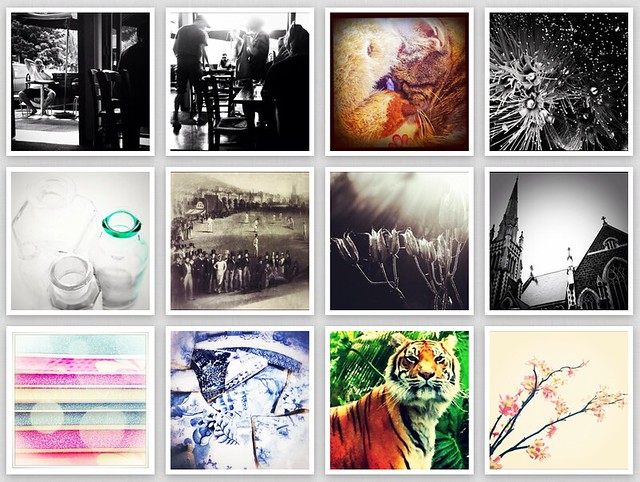
I've been painting the trim in the kitchen so there isn't much to show off at the moment! I'm hoping to get some sewing in tomorrow after I help out in Hazel's class in the morning. In the meantime, I'll put up some of my favourite Instagram photos from the last week or so. I'm not quite as obsessive about that app as I used to be but I still enjoy it and am very fond of lots of my photos - not that I ever get around to printing any off though!
l-r: lunch (plus a bagel), Hazel's swimming lessons, tin can lantern I made as a test for my neighbour's Matariki party next month, she wants the kids to do a lantern walk.
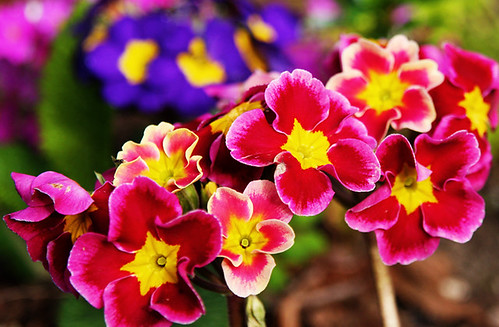
l-r: school pickup before and after, some flowers on the way to school one morning, Hazel's pink toes in a puddle
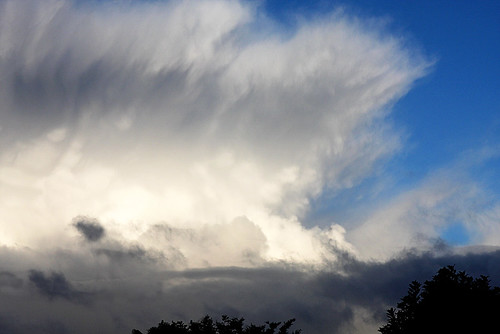
Abstract sun in a blue sky, some beautiful crocheted stones sent to me by the lovely Ellie, pretty sunset clouds
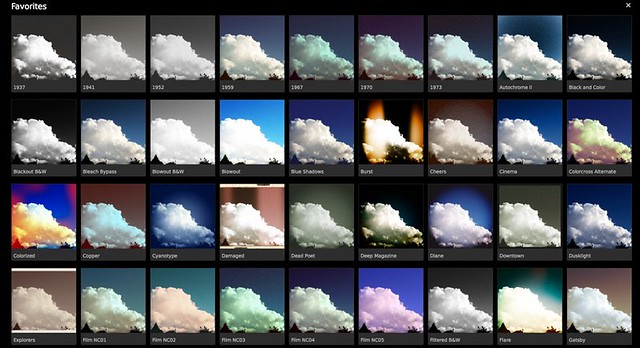
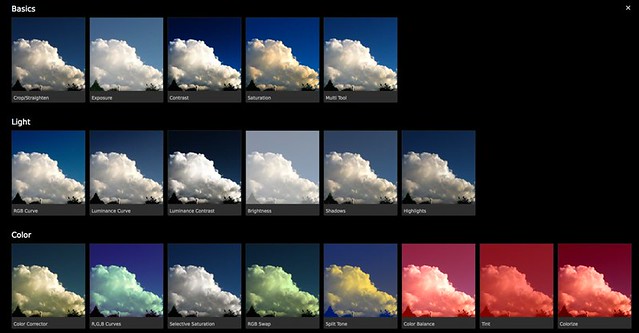
Last week Nevercenter asked if I'd like a review copy of their photo editing desktop app CameraBag 2. I had a look at the intro video on You Tube and thought it looked interesting so said why not and they gave me a copy. Initially I wasn't entirely sure why they approached me but I suspect that they are aiming for the "in love with Instagram (or Hipstamatic) and want to do it on my computer" set - and I admit I've looked for Photoshop filters that would allow me to replicate some of the filters I like on Camera + or Magic Hour. And woah does CameraBag have filters! Filters up the wazoo. I could put in some screen shots of it in action, but actually the 5 minute 'How To' video is probably the best way to get an idea of how it works and it will save me a lot of explaining!
So, what do I think? I think it's fun and useful but there are some important things that are missing. First the good stuff!
Filters, filters, filters and more filters! I'm sure if you're a Photoshop whiz you can do these things easily enough, but I'm not and I can't - not even a vignette, so I'm pretty excited about these.
This is some of them:
And there's even more of them here:
All up I counted 102 individual filters, and then within each of those there is a huge variety of settings. It's a little overwhelming! Luckily there is the quick look option which lets you see them all at a glance.
There are also the usual exposure settings of brightness/contrast/saturation etc. etc.
Plus some frames (something I've never been able to figure out in Photoshop!)
So all of that's good and great and I'm really enjoying it. But what can't it do? (and I do stand to be corrected on this if anyone knows differently)
Well it can't sharpen, and that's a major failing in my books. I use unsharp mask a lot, even on photos that are pretty sharp to begin with. Other online photo editing programs do a good sharpen - Snapseed on my iPhone does a super-good job, so its lack in CameraBag is a bit puzzling. It's the difference between this:
and this:
The other thing that I like to use a lot is a clone stamp or similar to get rid of pesky lamp posts or wires or trees. There are iPhone apps that can do this (eg.Filterstorm) - but not CameraBag. So instead of getting all lovely cloud courtesy of the seriously cool 'content aware' fill function in Photoshop (cloning could do it too, it's just much more labour-intensive):
You get this
Boo - trees and powerlines!
In the course of trying to figure out where sharpening was, I discovered another issue - the lack of a decent help function. The website offers a few video tutorials and some FAQs and that's about it. There is no comprehensive help guide, or any way of searching on a topic if what you want to know isn't contained in the FAQs. This suggests they aren't really expecting anyone to want to use this program seriously, or to experience anything outside the completely ordinary and expected. As a Photoshop and iPhone photo app junkie user it wasn't really an issue for me, and the controls are pretty intuitive, but still.
Overall I'm really enjoying the app and even if I had spent money on it I think I'd be pretty happy and looking forward to using it; but it's not perfect. I suspect what I'll be doing is some basic editing in Photoshop, particularly sharpening, and then taking it over to CameraBag. I've got my iPhoto set up to edit using Photoshop anyways, so it should work fairly smoothly. At the moment CameraBag 2 is US$24 and you can get a month's free trial for either Mac or PC, which seems to me like a bit of a no-brainer - you can evaluate it yourself. And if you find a way to sharpen I'd love to know!
I haven't been doing anything interesting lately, though I do try and fake it on Instagram. I love making my life look all arty and cool.
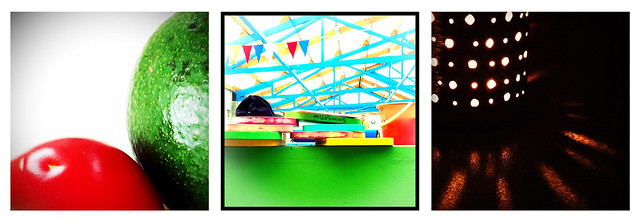
I've yet to try printing any photos off in a serious way - anyone have a good experience with a printing company? I printed a few off on my printer but I think I'd have to glue the photo paper to cardboard to stop them curling in the humidity. I created these mosaics over at instagrid.me, and they link up to printstagr.am who have some cute options, but I haven't investigated the international shipping. One never knows with US companies - sometimes they're fine, other times they seem to regard the existence of the rest of the world as offensive in some way and the shipping is so exorbitant you'd expect the item to show up carried by Daniel Craig in an Aston Marton. I think I've just convinced myself that it would be a good thing if Printstagram was in the latter camp... ;)
Although I had a slight hiccup with the new upgrade, I've been enjoying Instagram enormously, particularly playing with filters and using other apps to produce images that don't remotely resemble the original! On some levels that bothers me because I do like pictures to look like reality, but I can't deny the appeal of the filter.
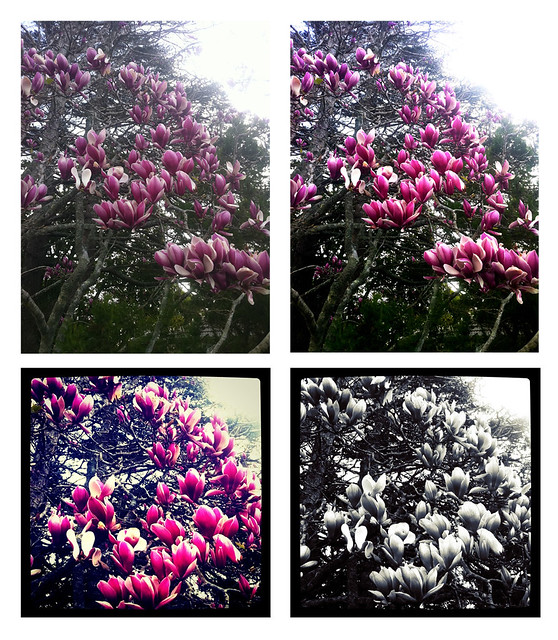
I'm always interested to hear about other people's forays into photography with the iPhone so I thought I'd just put up a couple of mine of a Magnolia tree at the top of the drive down to Hazel's school and just show you how I did what I did - nothing particularly complicated and I haven't managed to come to grips with putting an image through numerous filters on various apps.
Clockwise from top left: SOOC; edited for contrast and saturation in PS (Photoshop) Express; Cropped and edited with X-Pro II filter in Instagram; same photo but using the Gotham filter (sadly gone since last upgrade, I'm pretty ticked off about that, hope they bring it back!).
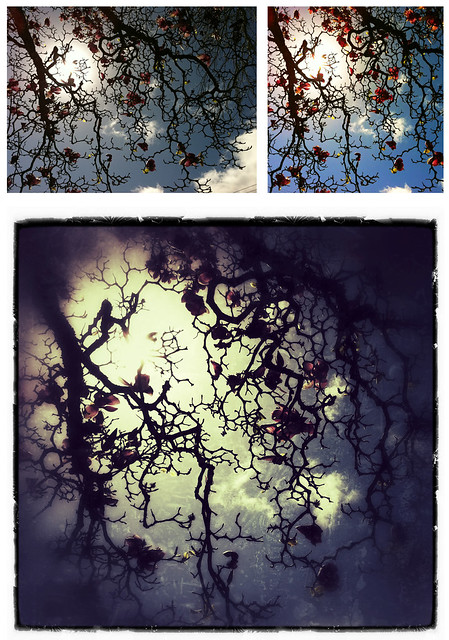
Clockwise from top left: SOOC; edited in PS Express for exposure, contrast, saturation and focus - all to get it looking like it did to the eye at the time; run through the app Snapseed (can't remember if I did two filters or just grunge at 400). I came across Snapseed a couple days ago via a contact on Instagram and am really liking it. The filters are interesting and the basic photoediting tools are probably better than PS Express's, plus you can crop to various dimensions easily, so I suspect I'll be using it a lot.
Just recently I've been playing a bit on Photoshop with badly exposed photos where the foreground is darker than background. It's really quite handy! I found this great tutorial on Pioneer Woman Photography that tells you how to do it - what do you think? The trickiest part is painting in the lighter area along the edges but I've discovered if you choose a very soft brush it works pretty well.
Before
After
Before
After
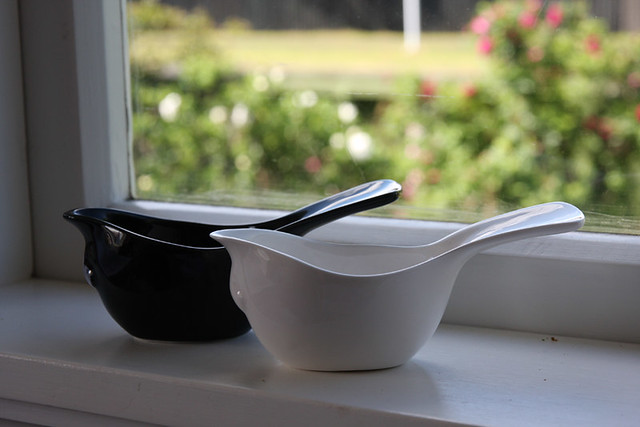
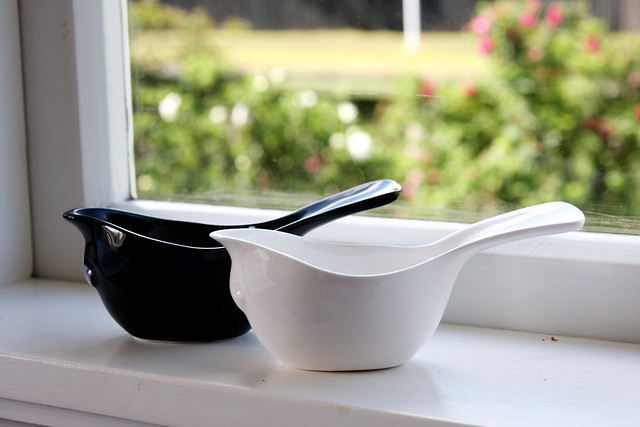
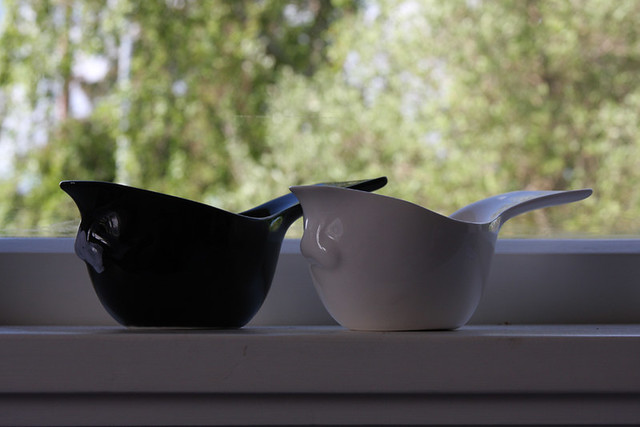
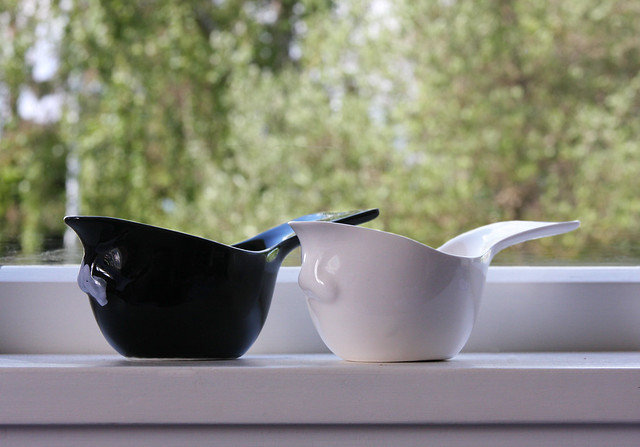
I bought these little sauce boats last weekend at Studio Ceramics, any guesses what they are in the shape of? Mat had no idea you see and I thought it was blindingly obvious so I'm curious what others think!
Well phew, so that's all over and Hazel's off at her first day of school. Talk about cramming it all into one weekend plus the farewell at créche on Friday (which reduced me to tears if not Hazel!). I've been battling sciatica as a result of a slipped lumbar disk too, so sitting hasn't been all that fun for the last couple weeks - nor has anything much! Ladies, Do. Your. Abdominal. Exercises. after your baby is born, let me and my lack of muscles be a dire warning to you. Here I am 5 years later paying the price for my laziness and procrastination.
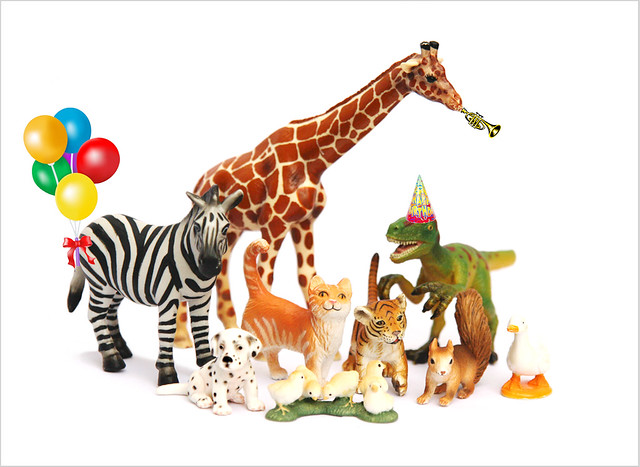
After a lot of mind-changing Hazel had settled on an animal 'theme' for her birthday - I use that term loosely as the only thing animal about it, other than the behaviour of the kids which was distinctly feral at times, was the invitation and the suggestion that the invitee should dress as their favourite animal. That actually got them incredibly excited and there was a lot of "Hazel's mum, Hazel's mum! Guess what costume I'm going to be wearing to her party!" when I picked her up on créche days. As it turns out, princesses are a kind of animal - did you know that?
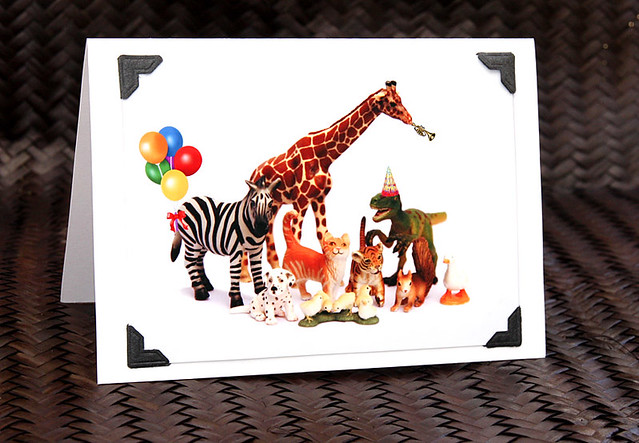
The invitation got a lot of compliments and I was pretty pleased with how it all went so I thought I'd share it with you - and make the photograph available for people to download if anyone else has a small party animal to plan for. Click on it to go through to Flickr and then Actions/All Sizes/Download (original size)
It's simply a photo of some of Hazel's Schleich animals that has been Photoshopped till it begged for mercy and then Mat found some appropriate clip art to finish it off. Hazel thought the photo corners were hilarious but they made me miss real photo albums and the process of putting photos in and licking the corners. Well ok, so I've never really done that on a large scale, seeing as plastic photo pockets had been invented by the time I got my own camera and albums! But you know, my parent's albums and my baby photos (in black and white!) look pretty classy with the photo corners. Besides, I've had a packet of them lurking around for years so I was pleased to get to use them!
I printed off the photos myself (3 per page) so they would fit on the front of half a sheet of A4 paper folded in half - whatever measurement that is, with the text printed on the inside. Pretty easy to set up on Word or in Photoshop and print off yourself.
Alrighty, thanks to Ms Stitchbird, I now have 200 followers and I did say I'd celebrate didn't I! Truth-be-told I'm a bit stumped, I don't want to do a bog-standard give-away but on the other hand they're good fun. A sew-along was suggested and I was all keen on that but then I couldn't think what I could do and frankly I can never get my ass in gear to do one, and while I expect my readers are a lot more proactive than me, I'd have lingering doubts anyone was actually sewing. Anna suggested blog candy - now I'm not sure what that entails exactly, but it caught my imagination and I'm mulling over a couple ideas and I'll get back to you all soon I hope!
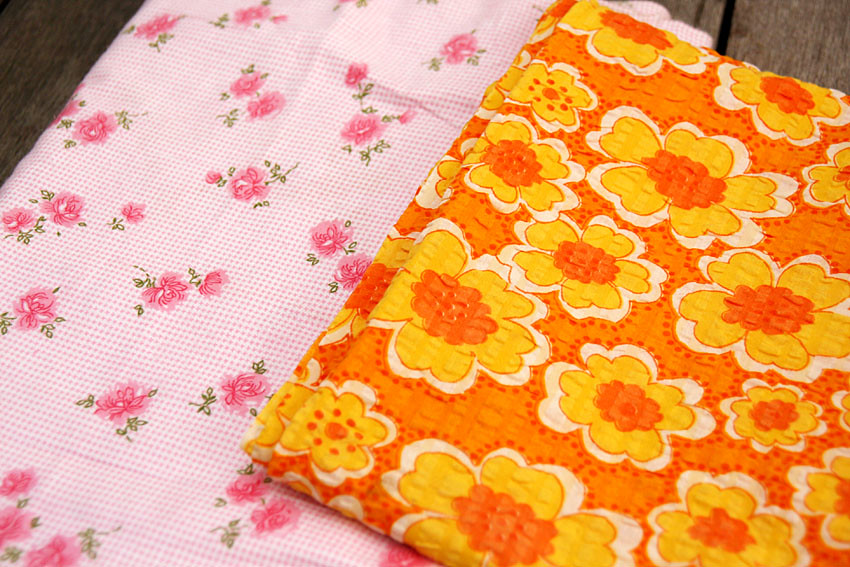
On Monday a very good friend I hadn't seen in ages came to visit so with the Design*Sponge guide to Auckland in hand we headed out and oh what a fine time we had! The first stop was the Lucy-Mae Sparkle Boutique in Grey Lynn. I used to go by that spot on the bus every day but haven't for ages so it was nice to find something new and exciting in such a familiar spot. It was seriously fabulous - from the steps that were sprinkled with glitter and loose buttons (so glad Hazel wasn't with us, I'd have had to bodily carry her past those or she'd have picked them all up!) to the masses of jars, bags and tins of buttons, the trim, the vintage fabric, the embroidered and crocheted doilies and goodness knows what else we missed! There's also a great selection of funky clothes and accessories made from the vintage goodies. I particularly liked the circle skirts made from old tablecloths! I found Hazel a lovely old wicker sewing basket for her birthday, I'm going to clean it up, replace some of the lining, and fill it with little goodies. It came loaded with bits 'n bobs but as Mat said, lots of them were sharp :) I was going to make a sewing box with Chez Beeper Bebe's tutorial, so I think I'll just adapt the ideas to this pre-existing box as best I can. No photos of it because I haven't had a chance to photograph it while Hazel's not around. I also picked up some lovely embroidered linen napkins and a cool old doily. The doily may or may not be salvageble as it's obviously been sitting in one spot for ages so has a pale circle in the middle where something was on it and the rest has gone sort of brown from age and light exposure. The fabric is in good nick though, so I'll be searching the internet for ideas on how to approach it - if anyone has suggestions I'd be most grateful. I also found a length of a very cute orange floral fabric that I'm going to make a dress for Hazel from. I know there's a term for the fabric, it has lines of puckering running along it - seersucker? Anyways, it's cute.
We also went to Salvage in Mt. Eden, which is along similar lines but is closing down at the end of next month! Sure, I finally get there and it's leaving. Accordingly she doesn't have a lot of stock but it was still wonderful. I almost got there a couple years ago but it was closed when I went past so missed out. I've always been a bit nervous of going in in case I spent too much money, and looking at the photos from the shop pre-moving I think I may have been wise in that regard! I bought the lovely pink flannel in the photo above to make some pjs for Hazel, and a couple of kitschy kid's hankies so she can blow her nose just like daddy.
Of course, being in the locale I had to go into Global Fabrics and found some Donna Karan fabric to make a shirt for Mat. I got him some fabric he liked for his birthday but wanted to test out the pattern (yes it's Kwik Sew!) before I cut into it. This one also meets his approval so he's now pestering me to make two shirts instead of just one :P
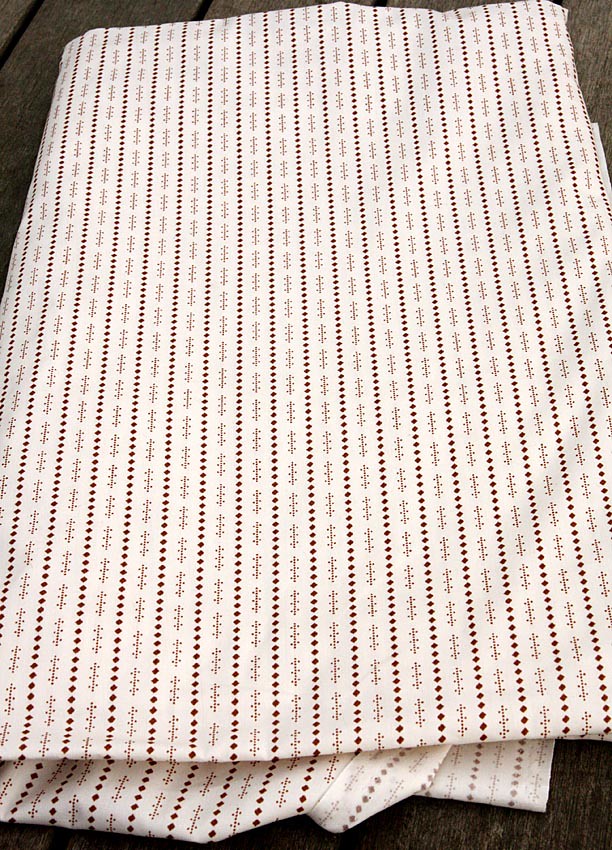
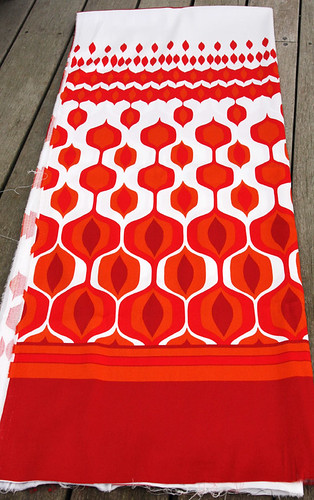
I also got a couple of panels of a rather Marimekko style fabric to make a skirt. I took a photo of it today but realised when I put it on my computer that the reds and oranges have totally blown out and you can't see the difference between them so I'll have to try and re-photograph it. The lozenges have orange and red circles in them and there are orange and red stripes at the bottom. But boy you wouldn't know it from this photo!
It's interesting that this has happened because Pioneer Woman did a great post last week about it happening in her photos and there were some very useful tips in the comments on how to avoid it or at least minimise it, I must go and read them again.
We've been having a lot of wet weather here the last week or so, and some pretty spectacular storms that roll over for a brief time, pour, and move on and we repeat that ever half hour or so. The weather here makes me laugh cynically when people in Edmonton trot out the phrase "if you don't like the weather then wait 5 minutes" because they really have no idea what they're talking about.
There are even a few roses bravely flowering on, it's been a very warm May so I shouldn't be too surprised I suppose!
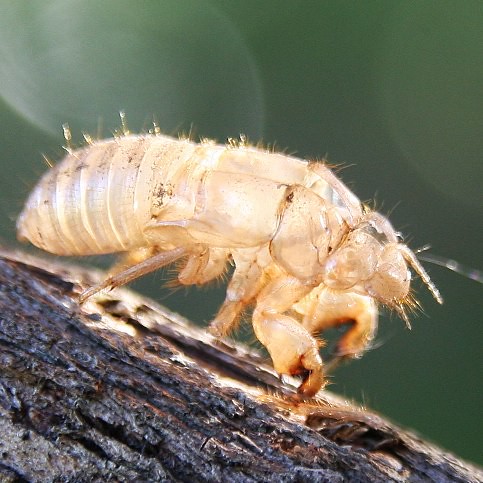
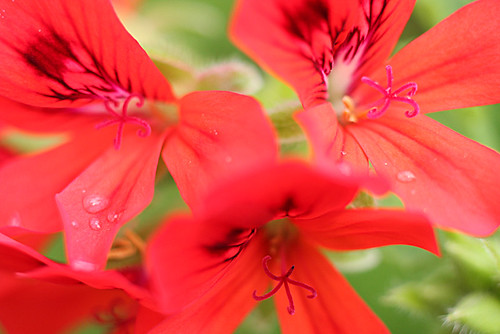
After my brief flirtation with fame and macro Mat offered to bring home his work macro lens for me to play with. He also brought an extension tube to make it even more macro-y (a technical term I swear!) I started out this morning trying take photos of our 3 resuced-from-the-garden Monarch butterfly chrysalises on the window sill but that was a dud because I just couldn't hold the camera still enough. I tell you what, if you want to feel reeeeeally old and shaky just try and use a macro without a tripod. Lesson #1. Then I tried outside and managed one of a post on our deck - mainly because it was really wide and where the zone of focus was didn't matter so much!
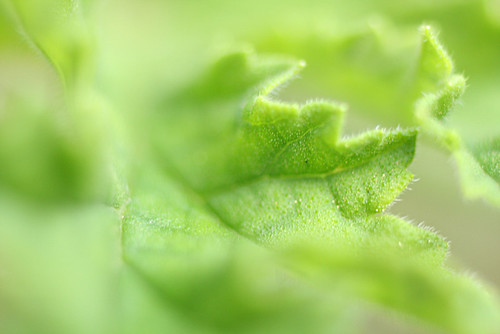
Then I moved on to a scented geranium in our backyard and that was more successful but still difficult! I don't know if it was the colour of the flower or the camera or the lens or what but getting the stamen in focus was incredibly hard. I'm sure *I* wasn't a factor at all :P The leaves were also kind of fun. I like how the photos come out looking sort of abstract.
When I pulled these into Photoshop they looked incredibly saturated which was neat so I left them untouched (the leaf has been cropped a bit) but that's all disappeared now that they're on Flickr. But you can see the details a bit better so it's not all bad!
Good morning, hope you all had a lovely weekend! The only thing we really set out to do was to watch our local ANZAC parade but we left too late and only caught the end of the pipe band and the assembled ranks of veterans and armed forces before they went in for the service. Hazel was over the moon about the kilts, the horses and men dressed up in WWI lemon squeezers (which was pretty cool I must say) and her poppy. I do love a good skirl of the pipes so was sad to have missed that. Must be my latent Scots DNA popping up. :)
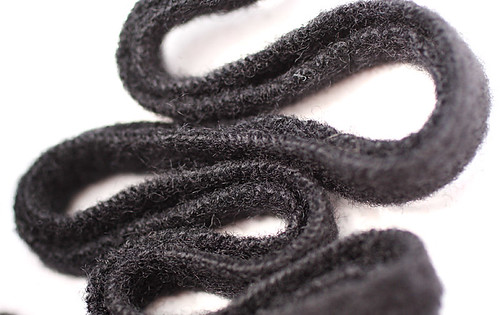
I'm in the process of making a Lovely Karen Cardigan out of boiled wool but have had to redo a big chunk of it because it was turning out too big! A real PITA but oh so better that way than turning out too small! The picture is the seam allowance being trimmed off by the overlocker. Mat brought home his work macro lens for me to play with. So far I haven't really got the hang of it, other than realising you need extremely good lighting!
I've signed myself up for Elsie Marley's Kid's Clothes Week Challenge between May 10-17, where the aim is to spend an hour a day sewing kid's clothes. Not that I don't sew clothes all the time, but I think I actually might just stop working on anything for Hazel until then, concentrate on me, and then go all out that week. Could be fun! Head over and sign up if you think it sounds interesting.
Then pop over to Indie Tutes to read her fabulous post on sewing clothes kids will actually wear which not only makes makes me feel even more ok about the fact Hazel sometimes rejects what I make, but gives some really great tips on maximising your chances of success!
Thanks to Wee Wonderfuls for putting me on to the Challenge and to Elsie Marley for the link to Indie Tutes :)
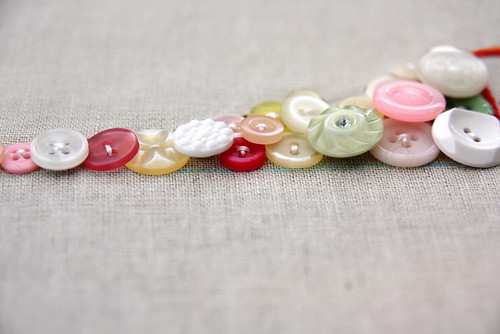
I'm still working away on my super secret project, I can't believe it's still in progress! There's been a few false starts with it, changes of direction, and a bit of undoing and so it's taking longer than anticipated. I'm about the start undoing the latest wrong direction, but spurred on by the whole macro thing I thought a few photos were in order first.
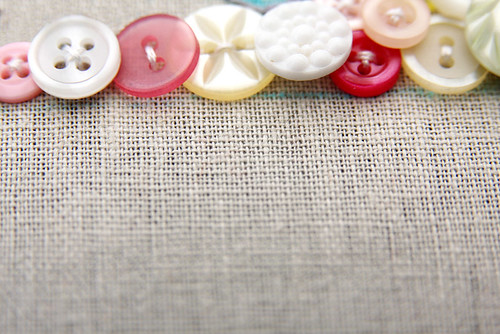
I actually really really like the look of these buttons. A lot. But they're just not right for what I have in mind and Mat agrees too. Hazel, on the other hand, thinks that pink can do no wrong and really wants them to stay. I'm thinking that after this is done I might do her up an H in buttons or something. It's quite fun placing them and sewing them, especially since one stitch will do. If only clothing buttons were so quick!
Tonight I will pick the buttons apart and select a whole new bunch. There are worse jobs than idly picking through buttons.
My rose didn't make it into the finalists of the PW photo competition but I'm still so thrilled it was in Group 2. There were soooo many amazing photographs I was just blown away by some of them. I mean, how on earth do people capture things like beetles emerging from a seed pod?? Most of my group favourites didn't make it into the finalists actually, I guess it's that pesky personal taste thing again :) If the finalists don't move you I highly recommend going through the 5 groups because there's some talented people out there!
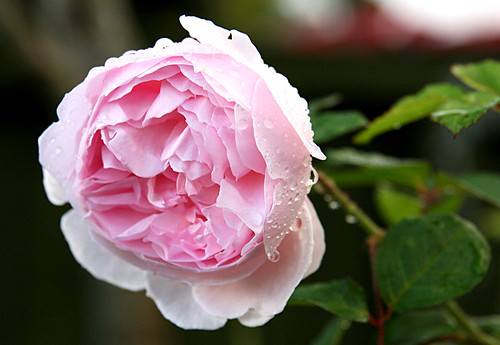
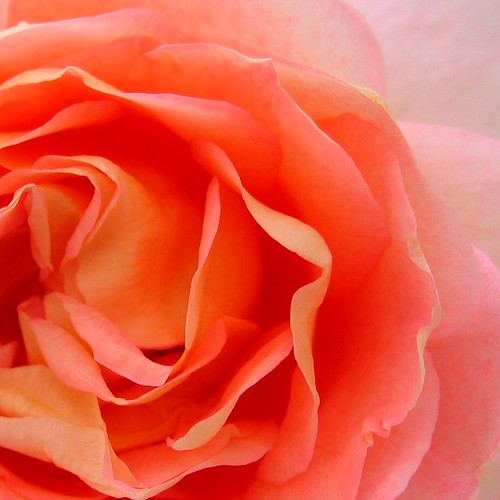
Some of you probably know I'm a big fan of Pioneer Woman and her photography blog (plus the amazing recipes!). I've recently started entering photos into her photography challenges just because it's a bit fun and I enjoy seeing my photos in a new light as I go through them looking to see if anything matches that week's subject. This week's is 'Macro'. I entered this one of an Abraham Darby rose in our garden.
and it's one of the semi-finalists (so-to-speak) in her Group 2. "Breathtaking" she says :) Eeeeee!
I think the reason I'm so stoked (aside from the fact that I think it's a gorgeous photo and someone else thinks so too) is that in the last few weeks I've decided that our tastes in photos overlap only moderately and I often see photos in the Flickr pool that blow me away that don't turn up in her finalists and some that turn up that I find completely ordinary. So me liking something is not a guarantee of her liking it by any means. I wonder if she's been getting some flack from people about not being chosen as she's put a bit of a disclaimer in this latest post. What a shame that she should have to, for goodness' sake it's HER competition! Of course it's subjective. Really, I do wonder about the asshattery that's so obvious around the internet sometimes. It seems to bring out the best and worst of people! Anyways, I'm sooo thrilled to be in Group 2, and of course I'd be lying if I said I was completely content with that - but actually in large part I am. Naturally I'd like to win but looking at some of the other entries I'm all "Damn, those are amazing!" so I'm stoked to be included.
...is sometimes always the best policy. Or so I'm lead to believe. I had a bit of a moan about my photos in the last post and so I thought I should probably come clean about what I sometimes do to them in case anyone actually thought that they were even half-decent because of my mad photography skillz. It's Photoshop baby, alllllll Photoshop. Well ok, I shouldn't be too modest, I take a pretty decent photo sometimes, I don't cut people's feet off, I know the rule of thirds, and that you should fill the frame. And then I Photoshop the hell out of it. Sometimes they don't need it but it's rare! Usually all I do is crop it a little, use curves to lighten it and sometimes unsharp mask to sharpen it up. Sometimes I get a weird colour cast and have to pull the reds out, or the yellows. But I don't usually get much fancier than that.
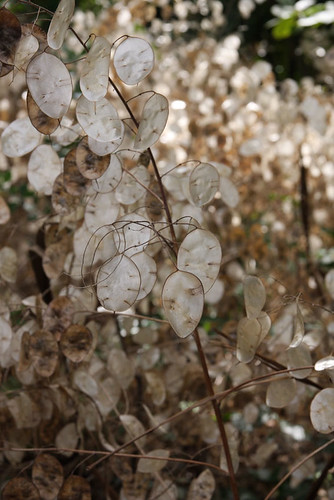
Over the weekend we went to my FIL's 90th at a really amazing old house in Bulls called Lethenty. Built in 1915 and totally my dream house with original William Morris wallpapers, a rambling backyard and Secret Garden type walled enclosures. In one there was a huge planting of Honesty. This is the original photo:
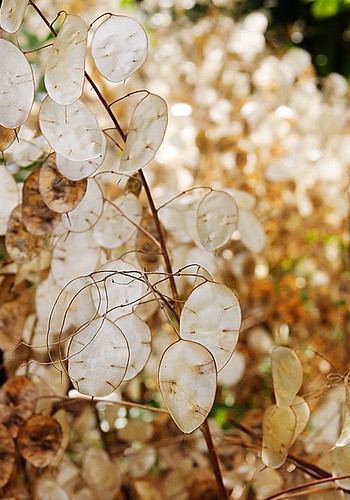
Meh. The reason I took it was because the sun was shining through all the Honesty in the background, and the seeds in the front had a lovely translucent glow to them. This is not represented in the photo, nope, no sirree nohow. I needed to show people what I saw, not what I actually took a photo of! So I lightened it, increased the yellow saturation, ran it through a Pioneer Woman action, sharpened it, lightened it again and cropped it down.
Much better. :) It still doesn't have the translucent glow in the foreground that I was looking for but I'm going to work on that. I gather that the pixellation effect in the background is called bokeh, which always looks fabulous but sounds vaguely like a rude word. However, you can safely search for it on Google so obviously it's just me!
Autumn's coming to Auckland, it's in the air. Still hot during the days but the nights are chilly and the viburnum is starting to turn. The poor old garden is frazzled from heat and the lack of rain, the lawn is burnt off and it's all looking pretty tired - except the hydrangeas. I took this picture of the polynathus in the spring so they will serve to cheer those of you still locked in to winter and daily anticipating spring and give hope* to those of us going into winter.
*Of course I'm totally misrepresenting how I truly feel about the seasons here - I loathe Auckland weather and in particular the summer mugginess, winter is marginally better but cold and damp, so autumn and spring are my favourites!
I'm having an awful time with the colour balance with the SLR - sometimes it's fine and sometimes it's not, even when I play around with the light source settings. The spots yesterday were super super saturated and weird-looking too. I think I really do need to build myself a light box! I pushed and pulled this with Photoshop and it looks okay, but not like the lovely colours of the original. I might try again later on with different lighting.
Though I can assure you that there is no way I could hit one bird with a stone, let alone two, because I throw like a girl.
Fabrics, a flash test and hopefully some recommendations from readers
I bought some fabrics yesterday at my favourite fabric store Global Fabrics as they were having a sale on knits. I know, any excuse to get in there! They have so many beautiful things at the moment, just gorgeous. I was in a trance the whole time, wandering around thinking "oh I could make something with this! And this! And ohhhhh, that's amazing! And oh! look at this, I could make something from this" with visions of fabulous garments floating in front of my inner eye. I ended up with the ones in the pictures below. The right-hand fabric is a cotton voile which will be a floaty summer top. The other three are knits destined to be tops and the orange one will be a dress. I'm going to make Hazel a dress from the kitty fabric and she faithfully (and rather desperately) promised me that she'd wear the dress if I made one. There should be enough for a dress for her and a tshirt for me.
Now the second part of this post is a small test of the flash diffuser idea from the previous post. I discovered that although my SLR is a Canon, the integrated flash isn't quite like the one in the tutorial and doesn't have the long metal arms. I managed to get the paper attached anyways. Robyn, I think that you could do this with a point-and-shoot too, I had a quick try with mine and just taped a bit of paper below the flash. I think you'd need to do a lot of fiddling with the position of the paper but once you'd sorted that it should work the same. Anyways, here are the results:
No flash, light coming in from the window to the left. Not bad, but a few shadows here and there.
Full flash. Again, not bad but you can see it's burnt out the shadows at the bottom of the orange fabric.
Bounced flash. Pretty good - more even lighting than no flash, but it hasn't burnt out anything. I had to fiddle with the angle of the paper a bit, the first time I had it angled up too high and there was a dark patch in the middle of the photo.
Third part - I need recommendations for a pattern to make a dress for Hazel from the dot/cat knit fabric. Just something really simple with a one-piece A-line body and short sleeves. I have in mind something maybe with a gathered neck and gathered puff sleeves. Nothing too frou-frou because that fabric is all about simplicity I think! Does anyone know a good tutorial or purchased pattern they can recommend?
I came across this great tutorial on bouncing the built-in flash of an SLR off the ceiling instead of having it burn out the object you are photographing. I got there via Sew I Do and she's got some good examples of how useful it's going to be for photographing things inside on those (sadly frequent) rainy Auckland days! I don't like the lighting I get outside on the deck which has a plastic cover, the camera doesn't seem to cope with it well and it often has an odd colour cast. If I could combine this technique with natural light from a window it could be a real winner!