01 March, 2016

Hemp bag

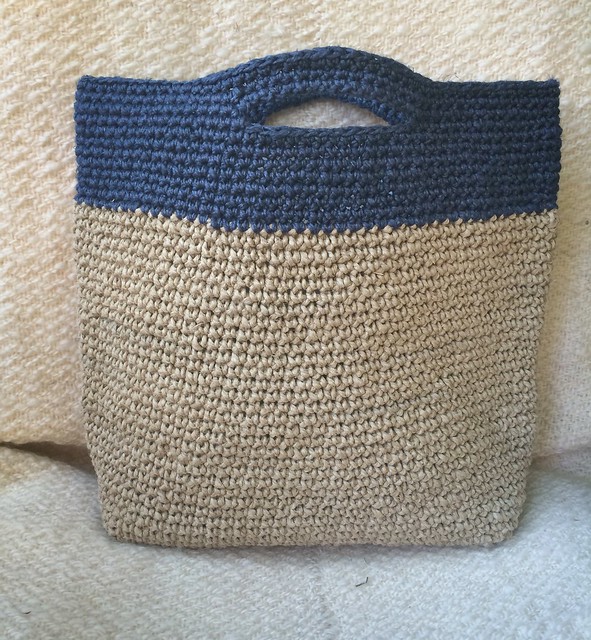
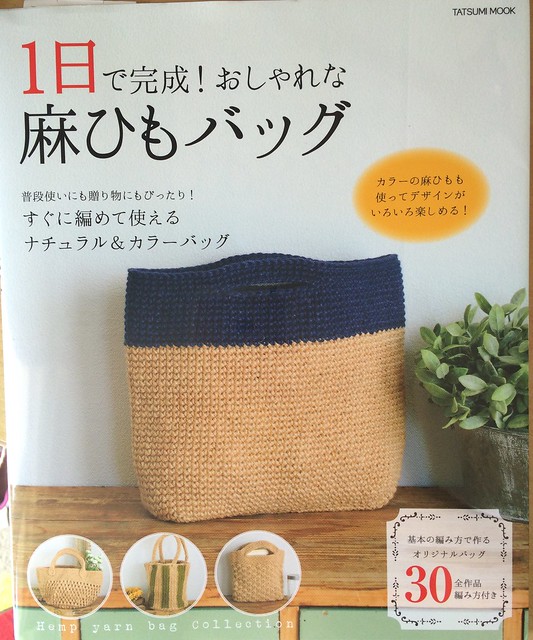
Back in November I started making a hemp bag for my mum for Christmas, it was an interesting experience! It was slow going because it took a lot of effort, but equally because the yarn was so heavy it actually made up much more quickly than I'd expected. I made the bag on the cover of the book the pattern came from, 'Hemp Yarn Bag Collection' (ISBN978-4-7778-1482-4).

Hemp Yarn Bag Collection. ISBN978-4-7778-1482-4

The blue hemp I had was quite fine and I'd hoped that doubling it would result in the same weight as the natural but it didn't quite. It didn't really affect the size of the bag because the yarn held the shape of the hook well, but the top is a little more open-looking than the bottom. Three strands would have been better I think. Anyways, it went really well! When it was done it was oddly twisted which was easily dealt with by getting it wet and blocking.

Hemp bag

I'd say its only drawback is how heavy it is! Mum uses it for knitting yarn and I think that's probably a good use, it's a bit hefty to be carrying around as a purse. Perhaps a lighter fibre might make it more useful as an actual handbag? Not sure what would suit though.


19 February, 2016

Tea light holders

My sister-in-law's parents also spent Christmas with us in Acton and getting them a present was a bit problematic as I've only met them once before. Kate suggested a pair of tea light holders like the ones I'd made for her the year before (always nice when people like your stuff!).

The idea came from this tutorial, but it's actually a lot more work to get them looking nice than the light sand it implies you'll need at the end - try a LOT of sanding as the facets you cut don't dry flat or smooth. But when it's all done they look really neat, I love those angles and different shades across the facets.
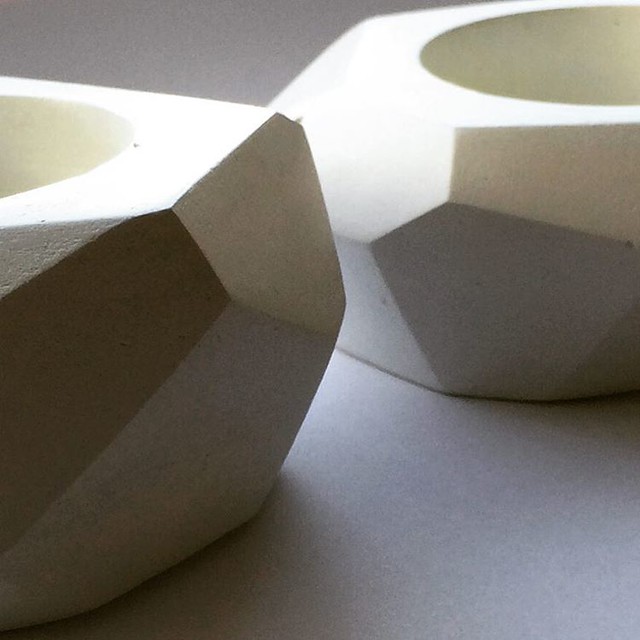

Candle holders made from air dry clay. I love the play of light across the angles.

Like the ones I did for Kate, I decided to put a bit of gold Rub 'n Buff on a couple of the facets, but first I decided to seal them with some Modgepodge so they wouldn't be so vulnerable to water. Big mistake! When I pulled the off the tape I'd put around the facets to put on the Rub 'n Buff it pulled off the layer of modgepodge and it looked awful! I just about cried.
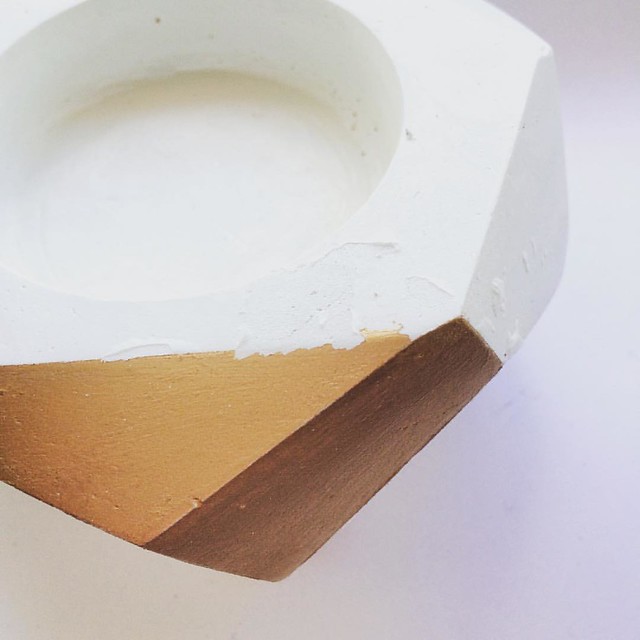
Gilding the lily, aka total crafting fail at the last stage. It's not ruined but I'm definitely not almost finished anymore!  #craftfail #gildingthelily

Luckily I was able to sand off the modgepodge fairly easily and that fixed the wonky edges as well so it wasn't a total disaster, just a lot more sanding! The candles were a little big to start with but they'll burn down to a good size fairly quickly.
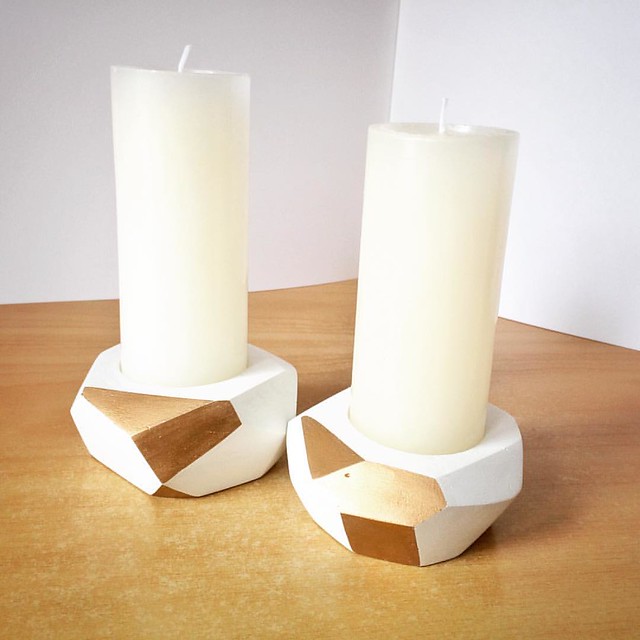

Finally finished. I'll be very happy to wrap these up and send them on their way. I think I still like them but it's marred somewhat by the ridiculous amount of work I made for myself by experimenting when I should have kept it simple. #candles #candlehol

Entirely unrelated but I just stumbled across a couple of new online New Zealand fabric/pattern shops that I hadn't known about until now so I thought I'd share in case anyone else is interested! They're Miss Maude, which sells some lovely fabric, haberdashery, scissors, vintage stuff (including fab buttons) and a few patterns; and Dresses and Me owned by the same person, which sells Indie paper patterns. I found them when I wanted to buy the Cascade Duffle pattern. It seems a little crazy to be considering warm clothing at the moment, but I'm sure it'll be cold by the time I get around to making it! I had initially wanted to buy the Caramel jacket from Waffle patterns but it's only in small sizes and although Yuki does offer a personalised drafting service it was just too expensive to justify! So a Cascade it is, and I'll make it a little more A-line which will be simple enough. I'll definitely be making it in plaid (The Fabric Store here I come!), and with the buttons at the top like on the Caramel. Let's face it, an Auckland winter doesn't require many buttons on a coat! I'm half tempted to try the Woodland Stroll cape by Liesl + Co. too. I saw someone wearing one a couple years ago and it looks great.
16 February, 2016

February already

Holy cow, how did it get to be February already? I went a little quiet before Xmas because of all the things that I couldn't show but then somehow I forgot to get back on the blogging horse after spending 6 weeks in Canada and the States soaking up enough cold and snow to last me for another few years. Sadly, thanks to global climate change, it wasn't all that cold (up to 20 degrees C in Acton just before Xmas!) or snowy but I enjoyed it very much anyways.

I went a little nuts with making stuff this year to be honest, but I got it all done and I think that aside from stuff for Hazel and Mat, I made most of the presents. I have no idea why my immediate family doesn't qualify for handmade but there you go! I might string it out over a couple posts just to make them a little easier to wade through.

I made a couple of lap quilts for my brother and his wife and they were actually done in plenty of time.

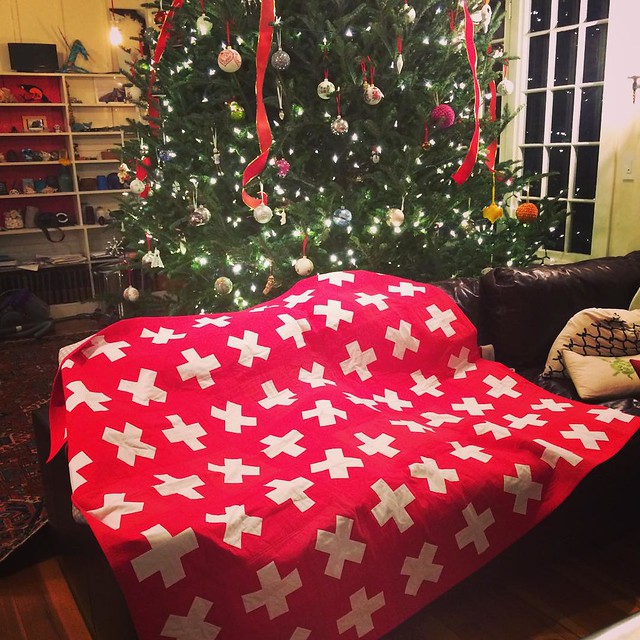
I made another red and white 'maths fact' quilt for Mike because he loves the Swiss cross motif. I do like this pattern even though I find it awfully repetitive to cut and sew! I think if I were to do it again (never say never) I might just do the plusses instead of alternating them with the multiplication block.

I made this quilt for my brother for Christmas, it looked perfect with the tree! The pattern is mathfacts by @crazymomquilts #quilt #mondaymodern #patchwork #swisscross #xmasinacton


I think their gigantic Christmas tree sets it off to perfection!

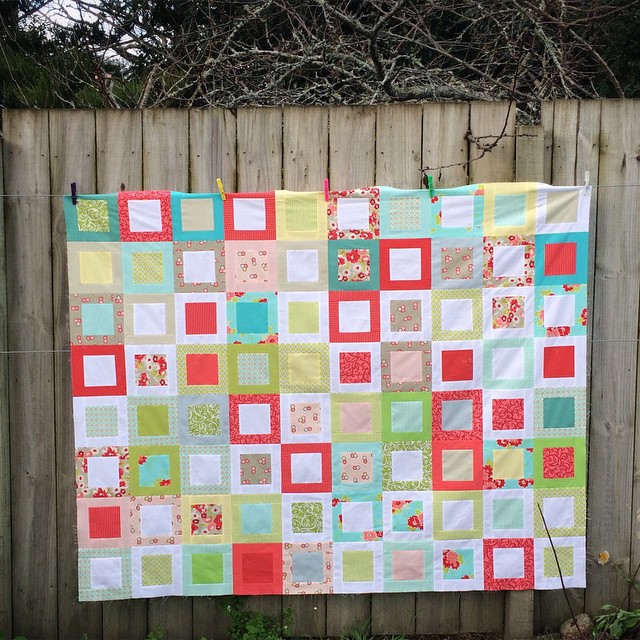
For Kate I made a Sweet Daisy quilt (pattern by Red Pepper Quilts). This photo is from before it was quilted but I didn't get a good one of it all finished up. I had an awful time with either the batting or backing shrinking and just about despaired but some very vigorous stretching while ironing got it flattened out to a reasonable level. I'm not a wrinkly/puffy quilt fan, but I definitely had to get over it for this quilt!

Lap quilt using the Sweet Daisy pattern by @redpepperquilts and various Bonnie and Camille fabrics mixed with solids. Fun and fast! #quilt #patchwork


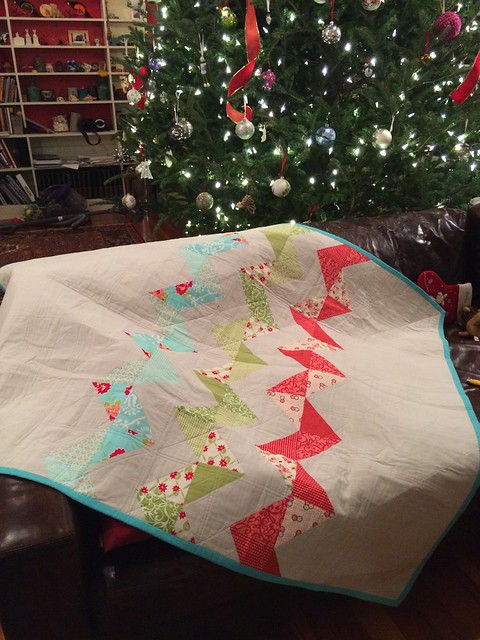
 I did the back in a zigzag pattern which I liked almost as much as the front!

Untitled

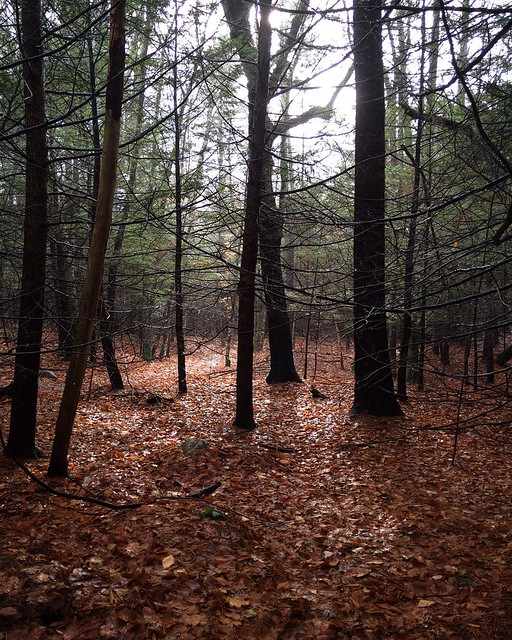
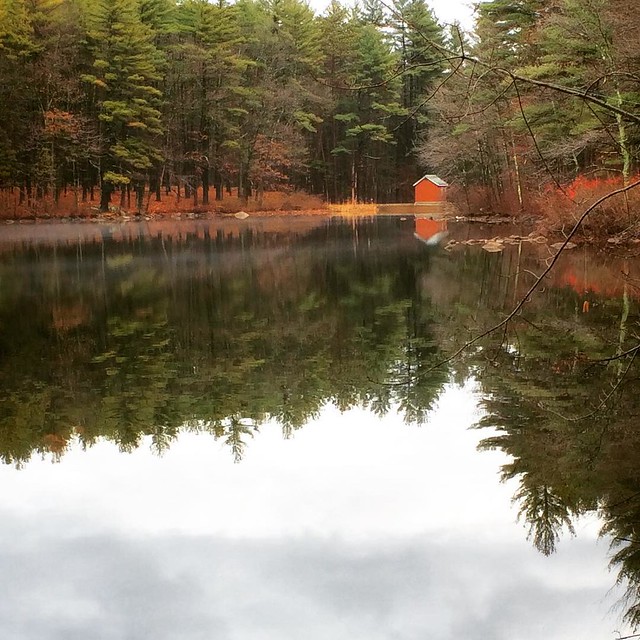
We spent Xmas in Acton, just outside of Boston, where Mike and Kate live in the most amazing old house. Such a lovely part of the world even with no leaves and no snow. The house backs out onto woods that merge into a regional park so it feels like you could walk for days (aside from the occasional golf course and large house)

A walk in the woods this morning. I think it must have gone up 5 degrees C while we were out, really strange! It's up to 20 today 😳#acton #xmasinacton #christmas #massachusetts #unitedstates

Beautiful little lake an hour's walk from my brothers place. The light mist on the water doesn't really show but just added to the picturesqueness of it all. #nagogpond #acton #xmasinacton #massachusetts

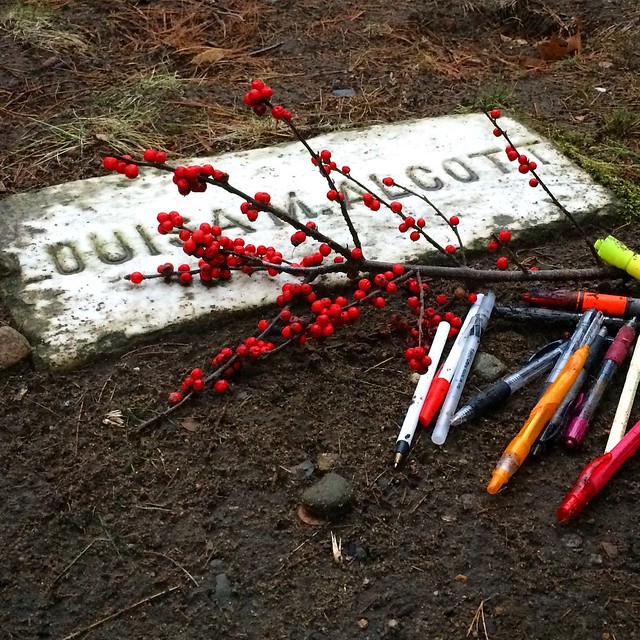
Concord, Massachusetts (apparently pronounced Kon-kerd by the locals so now you know), is also nearby and in addition to buying nice cheese and looking in nice shops and admiring freaking amazing old houses, we visited the old cemetery and I loved paying my respects at Louisa May Alcott's grave where, along with other authors there, people leave pens next to the headstones.

Untitled

18 November, 2015

Spoonflower organic knit fabric

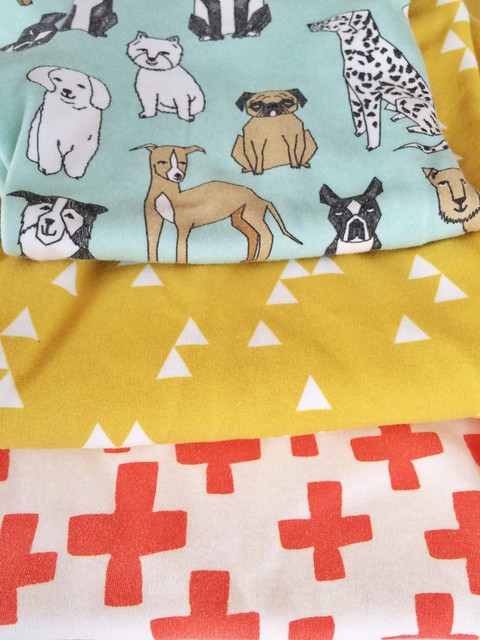
I was so excited when Spoonflower had their annual free shipping day just when I was wanting some neat knit fabrics to make tshirts from, and I ordered two fabrics for me, and one for Hazel, all from Andrea Lauren. I was surprised how thick the fabric was when it arrived, although I suppose I should have been able to figure that out from the weight given for the base fabric. Anyways, I washed them (the ink was very stiff and had a strong smell) and made them up and they look great at first glance but I have some real issues with how the fabric behaved after that which is super disappointing.

Spoonflower organic knit issues


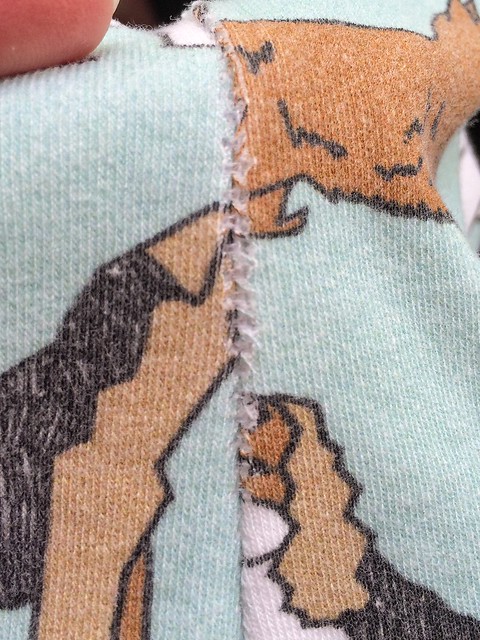
I mostly sewed them using my overlocker and despite having ballpoint needles in, and never having this issue with any other knits, the fabric developed little holes where the needle went in. Here you can see it along one of the side seams. It's almost like the fabric is brittle, in that where it's bent back on itself the stitches have cut at the fabric, along with the hole caused by the needle going in. It's not all that obvious when the seam's not pulled back, but I don't know how long until it looks really tatty. The first wash didn't make it look much worse so I'm hoping for the best.


Spoonflower organic knit issues

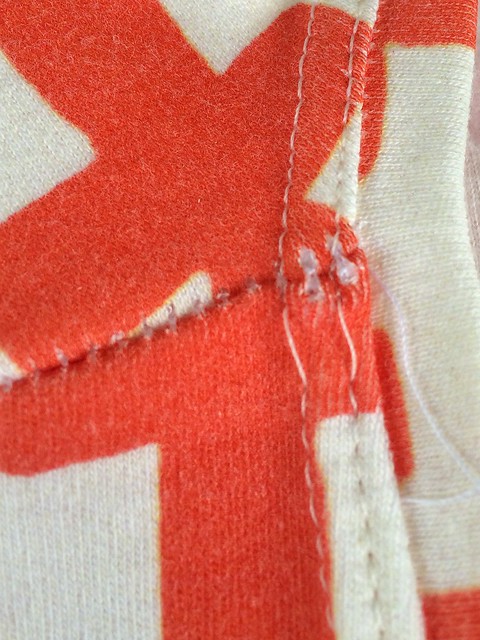
Here it's happened particularly badly at the thick point where the shoulder seam meets the neck binding. The crappy stitching is my machine catching on the seam, can't blame that on Spoonflower! You can also see how it's pulled at the stitches along the shoulder seam.


Spoonflower organic knit issues

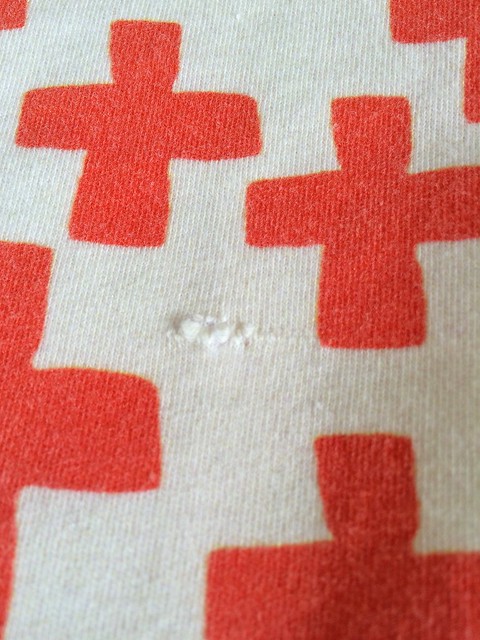
And then to add insult to injury, I discovered that I'd managed to miss a giant slub in the fabric - and placed it dead centre on the front of course.

Spoonflower organic knit issues


So yeah I have a couple of cute tshirts that are wearable but I definitely won't be buying the organic knit fabric again. Anyone have experience with the woven fabrics? I bought some tea towels on the linen/cotton canvas that I'll be curious to see after they've washed.

15 November, 2015

Impeccable timing

Kitchen sewing

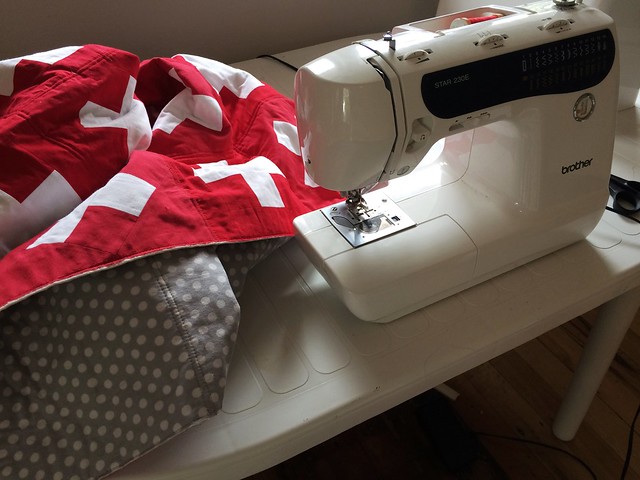
Half way through quilting a Christmas present my machine has decided to start skipping stitches and to get all funky with the tension. Poor old thing, it was never designed to do as much sewing as it has over the last 15 years and it's definitely starting to feel its age. I just need to nurse it through a bit longer until I can afford a fancier one, so I hope the repair place can sort it out asap and I'll see if I know anyone I can borrow one from for a bit. Of all the times for it to happen though - I've got a couple more projects to get done before Xmas!

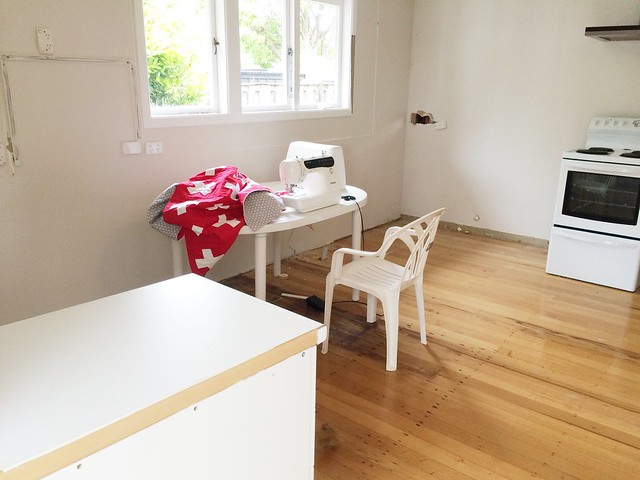
I'm using our crappy old outdoor table to sew on as our kitchen currently looks like this and will shortly be lacking walls and a ceiling. I wanted to get as much done as I could while I had the space, although the state of the floor means that even if I wasn't planning on washing the quilt before I give it to my brother, it would certainly need it now! The straight lines of the floor boards are just too good to not use for sandwiching and squaring up though, my only quibble with them is that they seem to be metric boards, not in inches :D

Kitchen sewing

04 November, 2015

Crocheting with hemp yarn

My friend Yumiko has a huge collection of Japanese craft books of all sorts, and she brought a few of her crochet ones to our stitch group a couple months ago to show me. I fell in love with two of the flower ones so I searched them up on Yes Asia and bought them, along with this book on hemp bags (ISBN978-4-7778-1482-4). I had no idea what was in it really, I managed to find a few photos online, but it was a bit of a gamble! When they arrived I was pleased I'd taken the chance and am looking forward to doing several of them.

Hemp Yarn Bag Collection. ISBN978-4-7778-1482-4

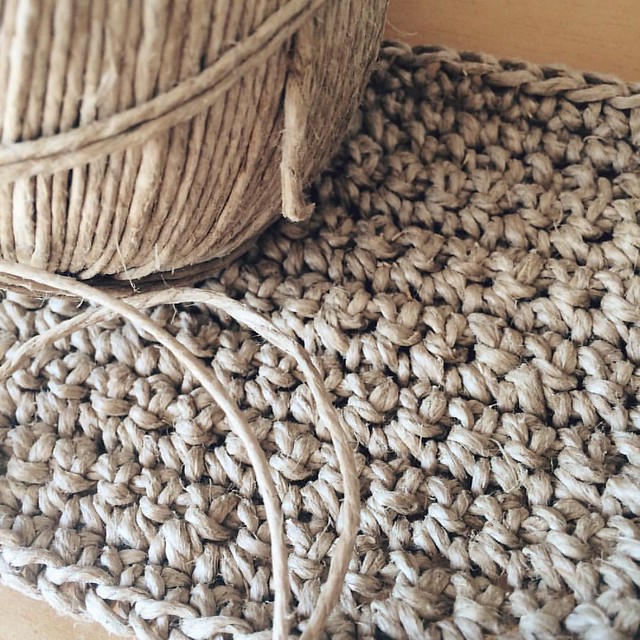
Hemp isn't the most common yarn but luckily the Hemp Store on K'Road here in Auckland carries twine, which is the same thing I think, and there are sources online. I don't often go down to K'Road so it was a nice outing and the Hemp Store was pretty much as I'd expected - incense, reggae, bongs and a really good assortment of different weights of hemp twine, along with rope and some webbing. I did feel like I should have a big sign with me that said "I'M ONLY HERE FOR THE TWINE" though. That's probably hopelessly middle-class of me! Actually I probably looked hopelessly middle-class with Hazel in tow and no-one had any illusions about me at all, but I'll pretend I'm hip enough for there to be doubts ;) I was hoping Yumiko would be at group this morning to help me get started but she wasn't, so I puzzled through the pattern instructions with the help of Christina. Yumiko did tell me that Japanese patterns aren't nearly as prescriptive as western ones, so there's no gauge or hook size, and as usual, very little in terms of instructions just good illustrations. It's not like a bag is hard though, do a rectangle (this one is just back and forth) and then start up the sides by going around and around. Oh boy though, it's hard work doing the actual crocheting because the twine's so stiff! The others were laughing at me making little noises of effort at the end as my hands tired, and I'm pretty sure they will be sore tomorrow! It's clearly not a project I'll be done in a hurry, an hour here or there will be the only way I can survive. The twine itself is nice to touch as it's waxed so it has a smooth texture and a pleasing stiffness when crocheted. It does twist and curl though, so depending on whether the sides push the bottom flat, or if they twist themselves, I may need to investigate how to block hemp.

Crocheting hemp twine. Great texture and look but it's a serious test of hand and finger strength! #crochet #hemp #hempyarn

02 November, 2015

Hexies

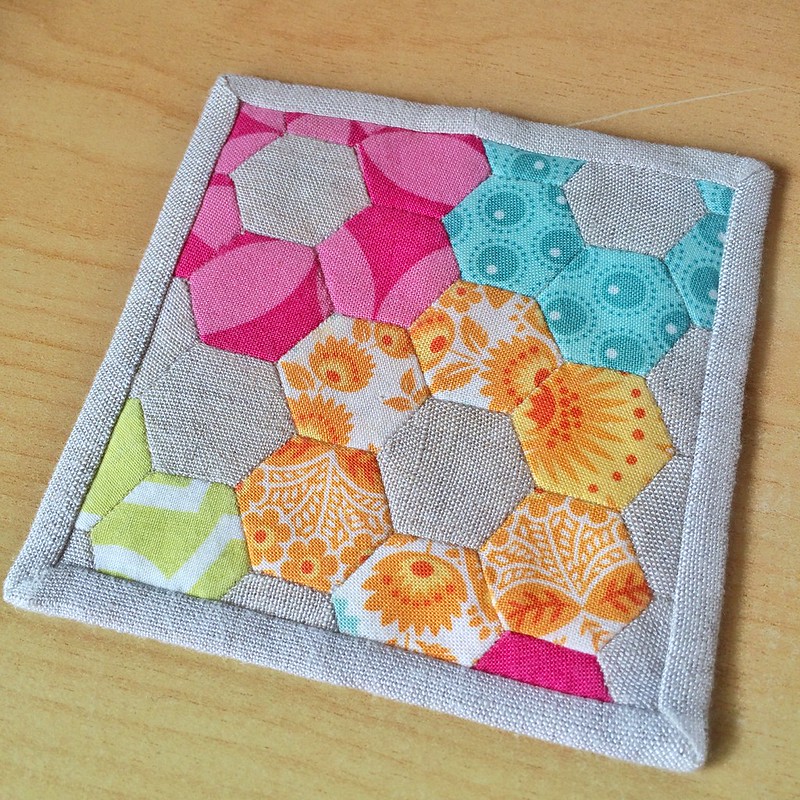
After our quilt show at Alberton we decided to make them some coasters as a thank you for being so lovely and helpful and promoting us as they did. Four inches* square was the size we decided on and whatever we wanted to do after that. I was going to do a postage stamp one with really little squares, but then Mel did something similar and despite the fact she told me to just go for it with mine I thought nope, I'm going to go even tougher than little squares. The only thing fiddlier than that I could think of was little hexies and I knew there was a project with them in one of the Zakka books I have. It ended up not being what I wanted, but there were bright colours and linen, so I found a page of 1/2" hexies online and just whipped out this pretty thing.

Coaster for Alberton

And no I didn't actually "whip it out", it went in fits and starts and I've only just finished it today and our meeting is tonight. I work best to a deadline :D I was going to sew on the backing right sides together and just turn it out, but as I discovered when I'd sewn it all together, it was slightly smaller than the pattern I'd devised and only just made 4" at its largest dimensions. I ended up trimming it square and doing binding which was a pity as I think it looked great cut before the binding went on and the binding itself looks a touch bulky on a small item. I'm not even sure if turning it would have given that really nice straight-edge look but I don't know how you could achieve it without getting fraying.

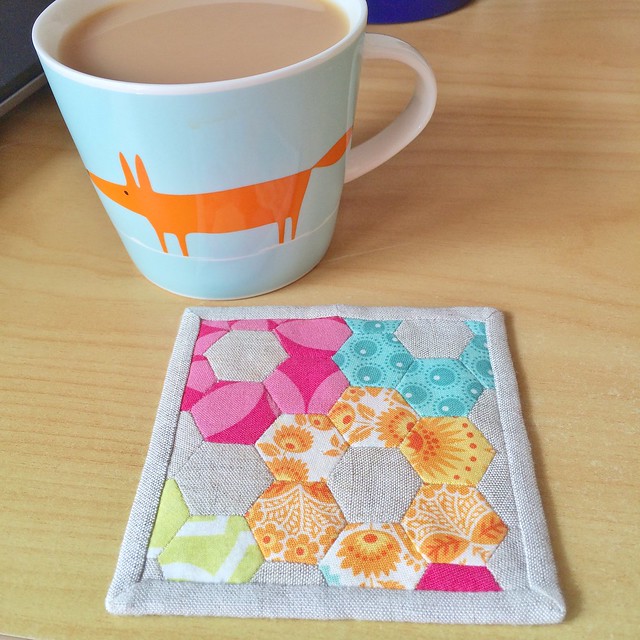
Anyways, it IS pretty and I quite like it, I'd even use it myself I think! Maybe I'll have to make some more, although it's kind of a pity to cover it up with a big old mug, so perhaps mine would be used more like this


Coaster for Alberton

*yes it's kind of weird that we do these things in inches when in all other aspects of life we're metric! At the very least though, quilting has given me some idea of what 5 or 10 inches is, when before I would have had no idea (I visualise the cutting mat markings). Don't ask me about Fahrenheit or pounds though, or how many inches in a foot.

LinkWithin

Related Posts with Thumbnails