10 June, 2021

In which I unexpectedly wallpaper

I have wallpapered exactly once in my life, when I did the kitchen in our old house about 10 years ago, and I didn't enjoy it. When I finished I got rid of all the equipment and vowed that paint was the only way in the future. When we renovated 5 years ago I was really keen to do something on one of the walls of the laundry, which is otherwise a rather plain room. 


I planned to do some sort of colourful geometric stencil, but it just never happened. To be honest I just didn't feel like acquiring a new skill! I did actually consider wallpaper but a whole roll for just over 3m² seemed a bit much. When Photowall got in touch to see if I'd be interested in trying out one of their custom printed products I was initially "oh god, wallpaper!" but I had a look at the website and got sucked into their seemingly never-ending options and really liked quite a few of them. My husband thought I was mad (for both wallpapering AND wallpapering a laundry) but we agreed on a couple possibilities. The first one we wanted was called 'Tangled Jungle' because it reminded us of old 19thC prints of Polynesia that were popular back in the 1960s. I mean, how great would a laundry look with this on the wall?

But when I put in the dimensions of the wall itself it was quite obvious that it just wasn't the image for us, proportion-wise. You can shift the window around on the image but even so it was such a small amount of it it would kind of ruin the overall effect. I'm really glad they have this function because otherwise I'd have been pretty disappointed when it arrived! If I ever get a wall this shape though...

I started looking for patterns that would better accommodate the almost square shape of the wall and found 'Circles Mid-century II'

We've decorated our house fairly solidly mid-century and the colours fit too and amazingly when I put in the dimensions the middle three panels fit perfectly! It was clearly meant to be.


 Once I made the decision the wallpaper arrived in less than a week - from Sweden. During Covid. Globalisation does have its upsides! It comes with the panels all in one roll and a packet of wallpaper paste and you just cut the panels apart, mix up the paste and away you go. I had three full panels and a thin fourth one. My plan was that the dimensions I ordered were just a little bit bigger than the wall and the narrow strip of the side panels that are visible down each side would be cut off. But I was in such a hurry to get it up that I didn't start the first panel over far enough and you can see the little bit of orange in the top left corner. That really irritates me because it's quite visible and I'm going try cutting it out and putting in a little patch of the beige, which being beige will be invisible after it's done 😏 Otherwise it went up really well. They recommend you have a bunch of tools, which I was loathe to go out a get (again) so I winged it with some jury-rigged tools and they worked great except the ruler I used to cut the edges. I HIGHLY recommend getting the proper edge for doing that. And also whisking the wallpaper paste powder as it goes into the water, otherwise it goes really lumpy. And be more generous with the paste than you think you need to be. But other than those completely self-inflicted issues, it looks So. Good. The teenage daughter even came to tell me so and the husband also really likes it so if it can win over those two very tough critics I'm sure not complaining! And all up it took me maybe 45 minutes to do, plus the time it took to clean the wall. Highly recommend!


 If you think you'd be interested in giving it a go yourself you can use the code hazelnutgirl2021 which will give you a 25% discount on any product on the Photowall website and is valid from June 11 through August 15, 2021.
27 April, 2016

Mercury Burst

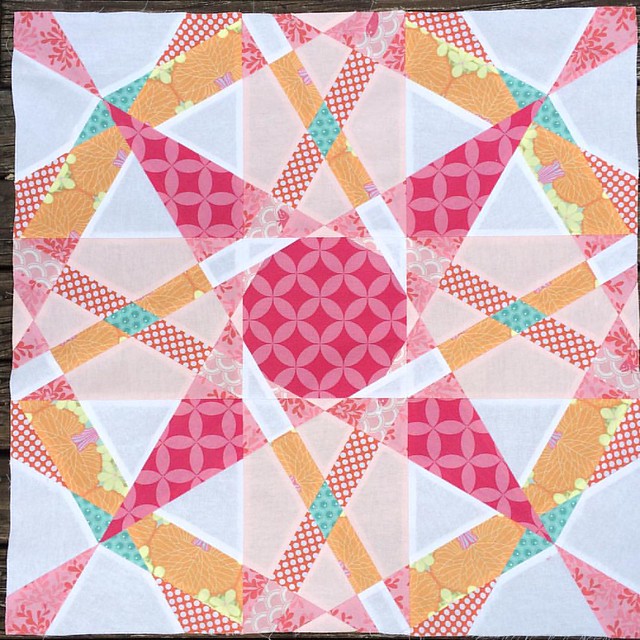
Robyn from robynieland asked if I'd test her Mercury Burst paper pieced block and I leapt at the chance! It looks difficult and fiddly but it's actually not, just involved! The pattern comes with a suggested scheme of lights vs. darks and accent colour placement but also has a blank pattern so you can colour in your own and given its nature you could end up with radically different blocks just by using different combinations of colours. Robyn has some examples on her blog. I decided that as I'm what I'd describe as an 'advanced beginner' when it comes to paper piecing I'd leave the fancy stuff for another time! Hazel needs pillows in her new room and as this is a big block at 60cm (24"), and therefore perfect for a big pillow, I made it in colours she approved of but that I liked too - love pink and orange together!


I hadn't done paper piecing for ages and had pretty much forgotten how to start so I had to look that up. One thing I had remembered was that using a bit of glue stick helps keep things in place. Unfortunately I didn't think far enough ahead so I'd glued into seam allowances and was too liberal with my application (if some is good more must be better right?) so when it came to taking the paper off it was a bit of a fiddly, swear-y, mission in places! Must remember that for next time because when the paper sort of pops off with that ripping along the seam thing it's super-satisfying, right up there with popping bubble wrap.

Overall I'm really pleased with how it came out and would love to do a few more as a quilt one day. The pattern is available from Robyn here. According to Hazel my next project is her super-cool unicorn that has been doing the rounds online lately. Even though she's not particularly a girly-girl Hazel likes to say "you should always be yourself unless you can be a unicorn and then you should be a unicorn". Amen.

Making a Rey Costume - the dying

Well not THAT kind of dying, the fabric dye kind of dying although at times it's been a bit fraught!

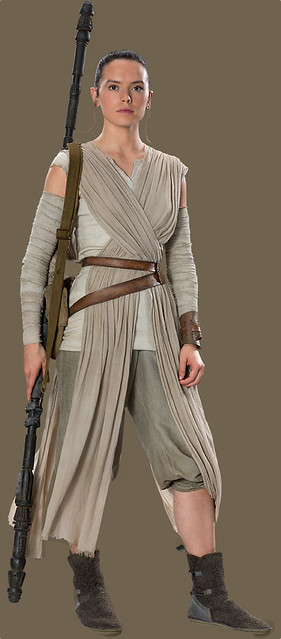
Hazel's school is celebrating May the Fourth next week and of course all the girls want to go as Rey (she's so cool, I wish they'd had her back when I was nine and the first movie came out, Princess Leia was great but not particularly kick ass).

Rey

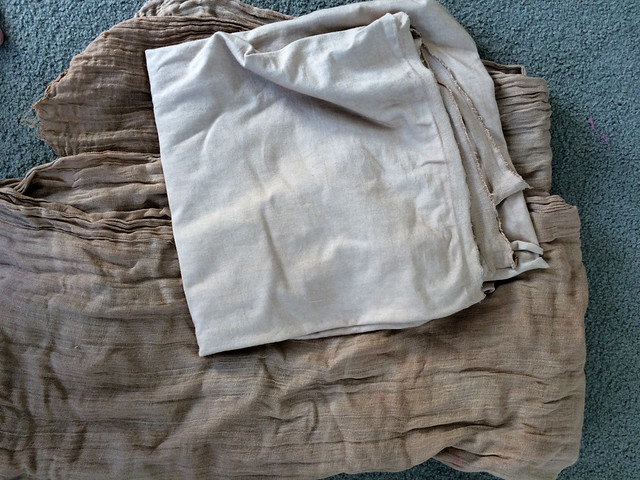
I had one look at the commercial costumes on offer and just couldn't go there (and don't even get me started on the whole #wheresrey issue) and of course given the inevitable competition, she wants to have the best costume out of all the dozens of Reys and that means handmade! Fun challenge and it's actually a pretty simple costume in terms of all the elements, a henley tshirt with the sleeves cut short, loose pants gathered in just below the knees and a drapey scarf thing with a belt and a staff. But the colours! Not your typical little girl colours so I had to dye fabric. There's lots of good stuff online (here for photos, and here for a great analysis of the costume and fabric suggestions) and it's not hard to figure out what is going to suit - a knit for the top, raw silk for the pants and muslin for the drapes. As it turns out I had the perfect fabric in my stash for the pants, not raw silk but a linen in almost the right colour (a bit browner) that behaves not unlike a silk - good enough for a school costume anyways! I bought some Dylon dye (desert sand or something like that) and some white knit and baby muslin and all full of enthusiasm I put them into the dye bath and yeah, too dark. D'oh! Why oh why didn't I test swatches? The muslin in particular soaked up the colour like a giant sponge. They're meant to be a greenish-grey linen sort of colour (although the photos online vary a bit in the colour rendition).

IMG_5786

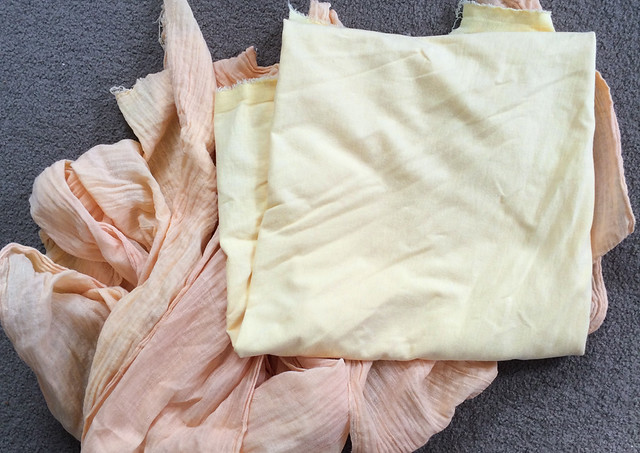
I had enough muslin to try again so I went back to Spotlight to get some more dye and white knit. I came across Rit dye remover and it occurred to me that I might be able to salvage the knit and muslin so got that instead of knit and also got silver grey and olive dyes by iDye. The dye remover didn't work - from a dark coffee brown they've both gone a lovely yellow. Pretty, but as Hazel says "not really what we want". So back to Spotlight for white knit :P

IMG_5788

In the meantime I'd come across this fabulous series of tutorials on making a Rey costume that included how she'd dyed the fabrics and it was extremely helpful. I'd experimented with tea and instant coffee with the muslin after my first round of dying but they hadn't come out dark enough. When I saw the top done with plunger coffee I gave it another go and it worked well. The slight uneveness and a few patches of darker colour just add to the look. To look more realistic all the fabric should be pretty dirty, but I don't think that's going to fly with a 10 year old!

IMG_5789

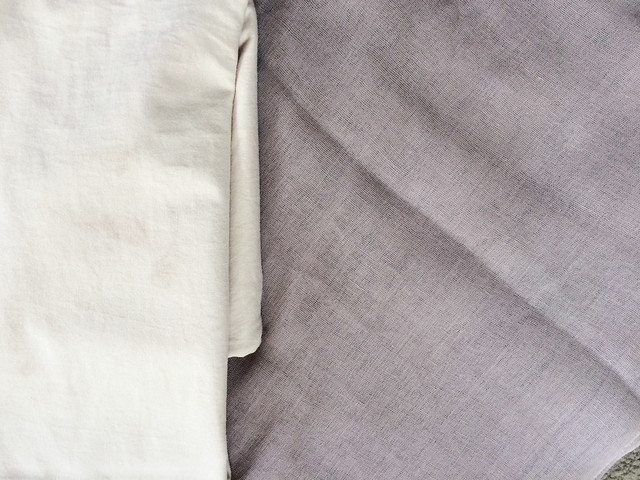
For the muslin I started off with the grey dye with the intention of adding in a little green if needed. I did lots of swatches and got it about right when diluted 40-50% and dipped in and out immediately (it really is that absorbant!). But of course getting 4m in and out of a pot and rinsed isn't quite the same as a tiny little bit of fabric and again it was way too dark. I rinsed and rinsed and then ended up putting it through the washing machine which took out some more and it's pretty good now. Luckily doing it that fast means it's not properly dyed and the colour will come out fairly easily. There is no way I'm fiddling with adding in any green though! I suspect that for muslin you'd have to have the dye extremely diluted, maybe 20% or even 10%? If I had more time I'd experiment because it's more of a purpley grey than a green grey which hurts my perfectionist soul just a little :)

Next is making the pants and the top. I've taken a pattern off a pair of pants and a tshirt of hers and it shouldn't be hard. The hard part is going to be the staff!

01 March, 2016

Hemp bag

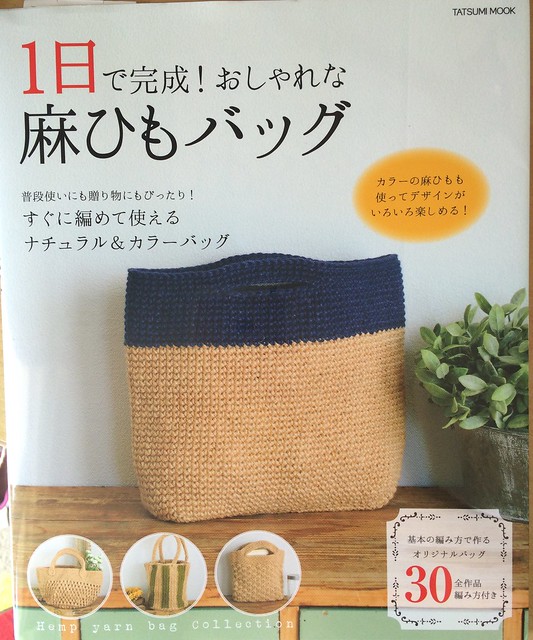
Back in November I started making a hemp bag for my mum for Christmas, it was an interesting experience! It was slow going because it took a lot of effort, but equally because the yarn was so heavy it actually made up much more quickly than I'd expected. I made the bag on the cover of the book the pattern came from, 'Hemp Yarn Bag Collection' (ISBN978-4-7778-1482-4).

Hemp Yarn Bag Collection. ISBN978-4-7778-1482-4

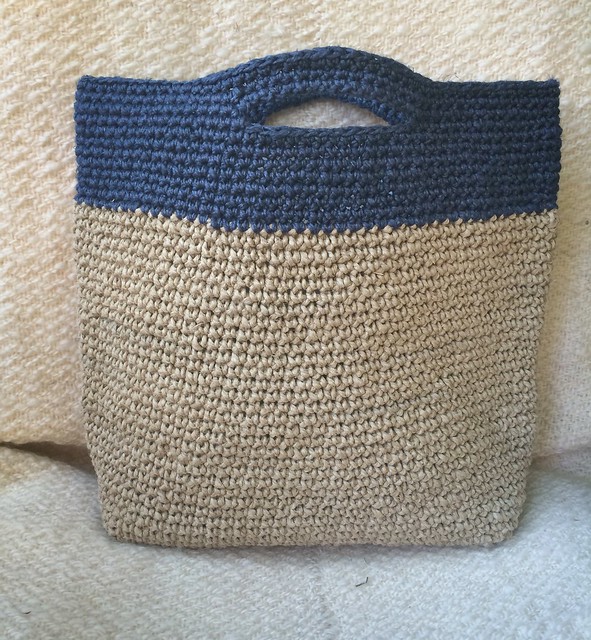
The blue hemp I had was quite fine and I'd hoped that doubling it would result in the same weight as the natural but it didn't quite. It didn't really affect the size of the bag because the yarn held the shape of the hook well, but the top is a little more open-looking than the bottom. Three strands would have been better I think. Anyways, it went really well! When it was done it was oddly twisted which was easily dealt with by getting it wet and blocking.

Hemp bag

I'd say its only drawback is how heavy it is! Mum uses it for knitting yarn and I think that's probably a good use, it's a bit hefty to be carrying around as a purse. Perhaps a lighter fibre might make it more useful as an actual handbag? Not sure what would suit though.


19 February, 2016

Tea light holders

My sister-in-law's parents also spent Christmas with us in Acton and getting them a present was a bit problematic as I've only met them once before. Kate suggested a pair of tea light holders like the ones I'd made for her the year before (always nice when people like your stuff!).

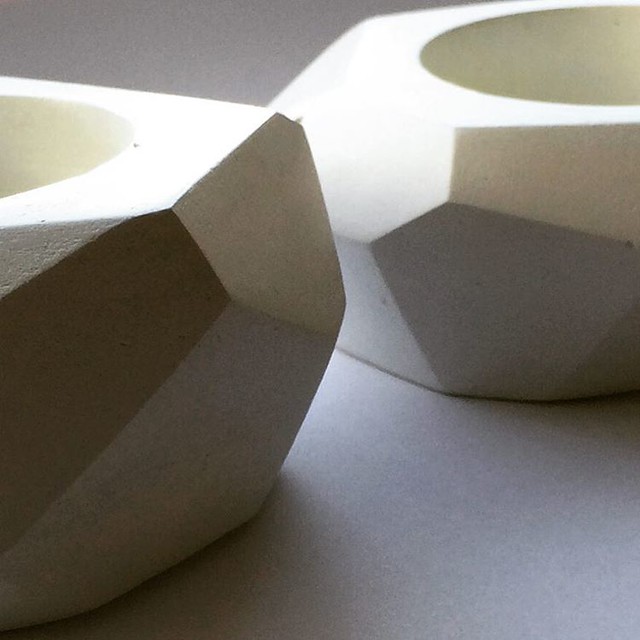
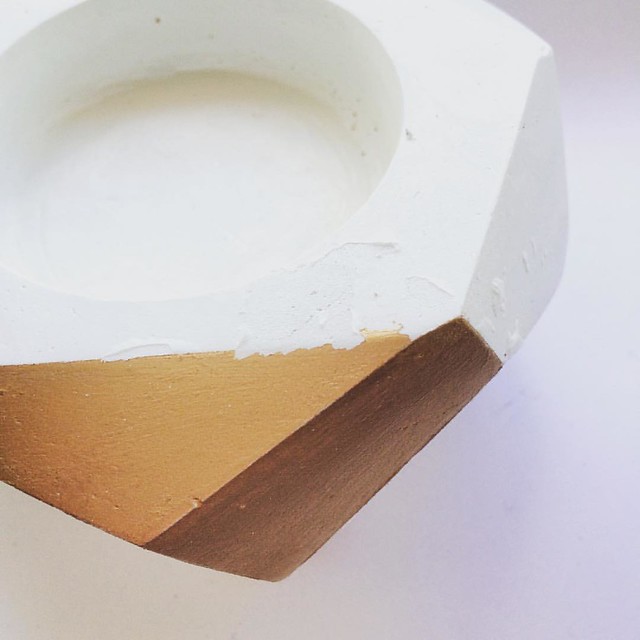
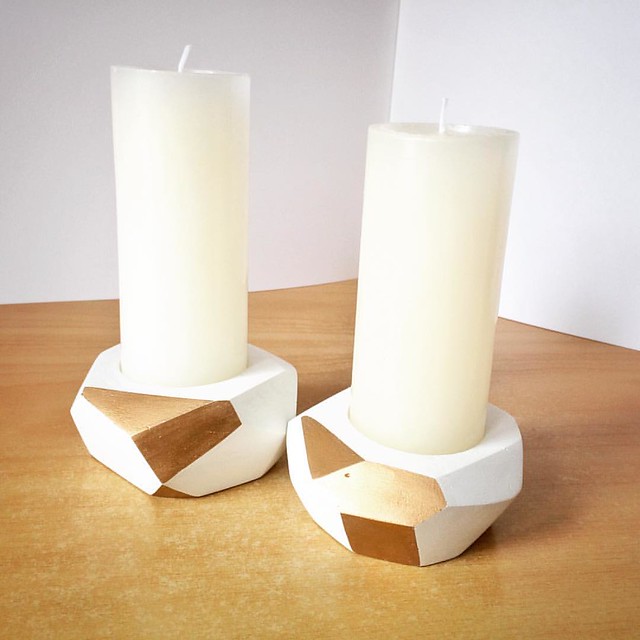
The idea came from this tutorial, but it's actually a lot more work to get them looking nice than the light sand it implies you'll need at the end - try a LOT of sanding as the facets you cut don't dry flat or smooth. But when it's all done they look really neat, I love those angles and different shades across the facets.


Candle holders made from air dry clay. I love the play of light across the angles.

Like the ones I did for Kate, I decided to put a bit of gold Rub 'n Buff on a couple of the facets, but first I decided to seal them with some Modgepodge so they wouldn't be so vulnerable to water. Big mistake! When I pulled the off the tape I'd put around the facets to put on the Rub 'n Buff it pulled off the layer of modgepodge and it looked awful! I just about cried.

Gilding the lily, aka total crafting fail at the last stage. It's not ruined but I'm definitely not almost finished anymore!  #craftfail #gildingthelily

Luckily I was able to sand off the modgepodge fairly easily and that fixed the wonky edges as well so it wasn't a total disaster, just a lot more sanding! The candles were a little big to start with but they'll burn down to a good size fairly quickly.


Finally finished. I'll be very happy to wrap these up and send them on their way. I think I still like them but it's marred somewhat by the ridiculous amount of work I made for myself by experimenting when I should have kept it simple. #candles #candlehol

Entirely unrelated but I just stumbled across a couple of new online New Zealand fabric/pattern shops that I hadn't known about until now so I thought I'd share in case anyone else is interested! They're Miss Maude, which sells some lovely fabric, haberdashery, scissors, vintage stuff (including fab buttons) and a few patterns; and Dresses and Me owned by the same person, which sells Indie paper patterns. I found them when I wanted to buy the Cascade Duffle pattern. It seems a little crazy to be considering warm clothing at the moment, but I'm sure it'll be cold by the time I get around to making it! I had initially wanted to buy the Caramel jacket from Waffle patterns but it's only in small sizes and although Yuki does offer a personalised drafting service it was just too expensive to justify! So a Cascade it is, and I'll make it a little more A-line which will be simple enough. I'll definitely be making it in plaid (The Fabric Store here I come!), and with the buttons at the top like on the Caramel. Let's face it, an Auckland winter doesn't require many buttons on a coat! I'm half tempted to try the Woodland Stroll cape by Liesl + Co. too. I saw someone wearing one a couple years ago and it looks great.

16 February, 2016

February already

Holy cow, how did it get to be February already? I went a little quiet before Xmas because of all the things that I couldn't show but then somehow I forgot to get back on the blogging horse after spending 6 weeks in Canada and the States soaking up enough cold and snow to last me for another few years. Sadly, thanks to global climate change, it wasn't all that cold (up to 20 degrees C in Acton just before Xmas!) or snowy but I enjoyed it very much anyways.

I went a little nuts with making stuff this year to be honest, but I got it all done and I think that aside from stuff for Hazel and Mat, I made most of the presents. I have no idea why my immediate family doesn't qualify for handmade but there you go! I might string it out over a couple posts just to make them a little easier to wade through.

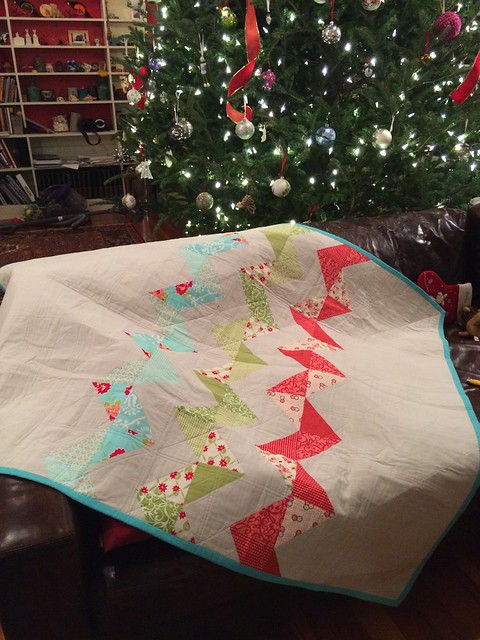
I made a couple of lap quilts for my brother and his wife and they were actually done in plenty of time.

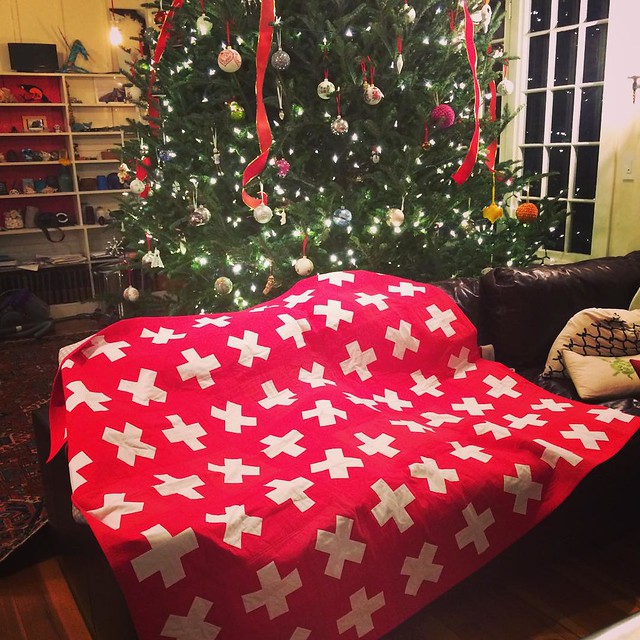
I made another red and white 'maths fact' quilt for Mike because he loves the Swiss cross motif. I do like this pattern even though I find it awfully repetitive to cut and sew! I think if I were to do it again (never say never) I might just do the plusses instead of alternating them with the multiplication block.

I made this quilt for my brother for Christmas, it looked perfect with the tree! The pattern is mathfacts by @crazymomquilts #quilt #mondaymodern #patchwork #swisscross #xmasinacton


I think their gigantic Christmas tree sets it off to perfection!

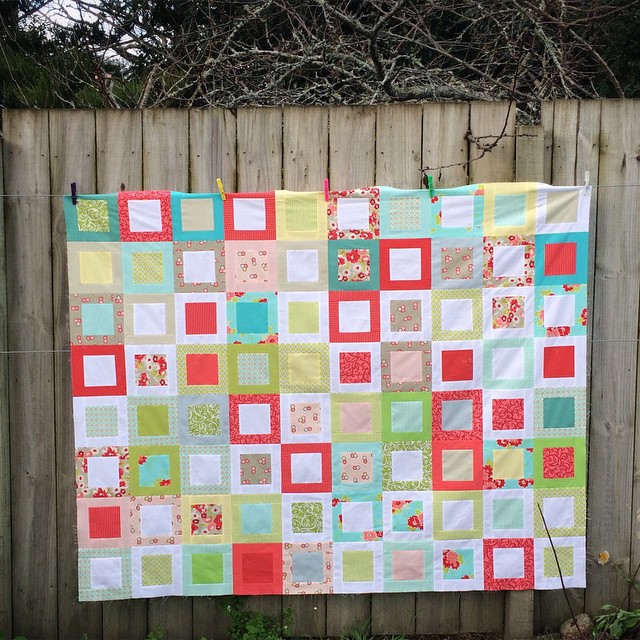
For Kate I made a Sweet Daisy quilt (pattern by Red Pepper Quilts). This photo is from before it was quilted but I didn't get a good one of it all finished up. I had an awful time with either the batting or backing shrinking and just about despaired but some very vigorous stretching while ironing got it flattened out to a reasonable level. I'm not a wrinkly/puffy quilt fan, but I definitely had to get over it for this quilt!

Lap quilt using the Sweet Daisy pattern by @redpepperquilts and various Bonnie and Camille fabrics mixed with solids. Fun and fast! #quilt #patchwork


 I did the back in a zigzag pattern which I liked almost as much as the front!

Untitled

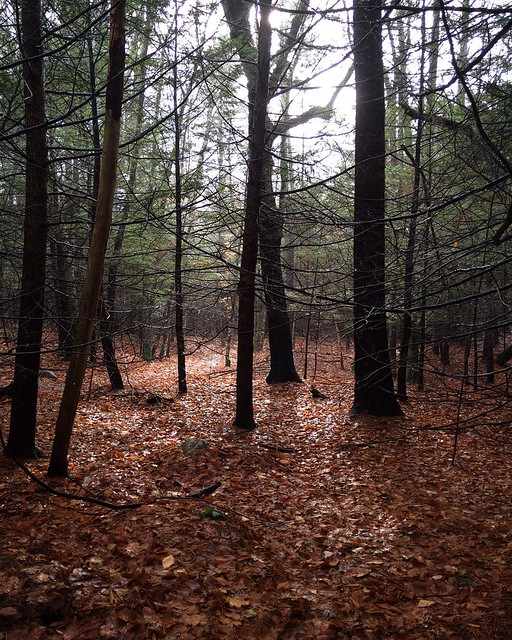
We spent Xmas in Acton, just outside of Boston, where Mike and Kate live in the most amazing old house. Such a lovely part of the world even with no leaves and no snow. The house backs out onto woods that merge into a regional park so it feels like you could walk for days (aside from the occasional golf course and large house)

A walk in the woods this morning. I think it must have gone up 5 degrees C while we were out, really strange! It's up to 20 today 😳#acton #xmasinacton #christmas #massachusetts #unitedstates

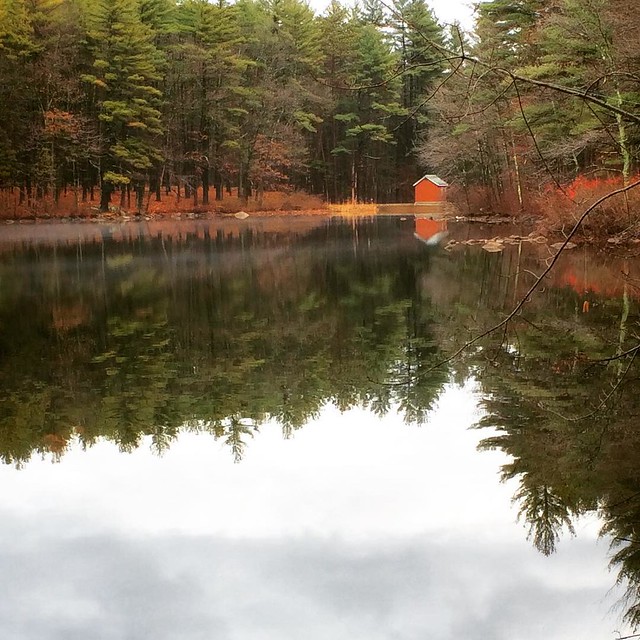
Beautiful little lake an hour's walk from my brothers place. The light mist on the water doesn't really show but just added to the picturesqueness of it all. #nagogpond #acton #xmasinacton #massachusetts

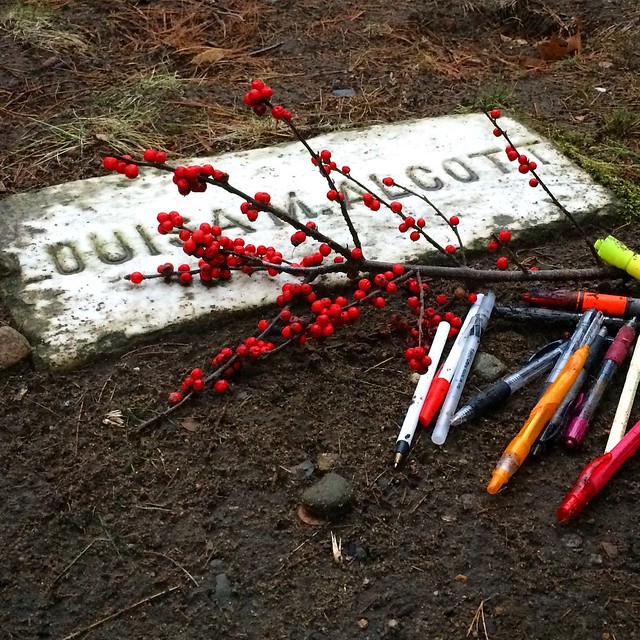
Concord, Massachusetts (apparently pronounced Kon-kerd by the locals so now you know), is also nearby and in addition to buying nice cheese and looking in nice shops and admiring freaking amazing old houses, we visited the old cemetery and I loved paying my respects at Louisa May Alcott's grave where, along with other authors there, people leave pens next to the headstones.

Untitled

18 November, 2015

Spoonflower organic knit fabric

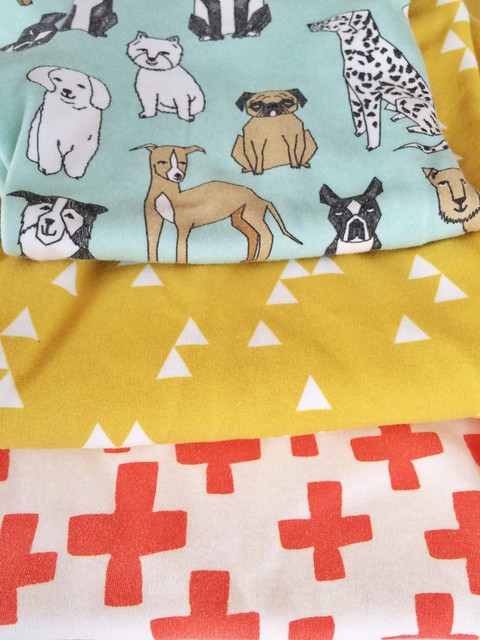
I was so excited when Spoonflower had their annual free shipping day just when I was wanting some neat knit fabrics to make tshirts from, and I ordered two fabrics for me, and one for Hazel, all from Andrea Lauren. I was surprised how thick the fabric was when it arrived, although I suppose I should have been able to figure that out from the weight given for the base fabric. Anyways, I washed them (the ink was very stiff and had a strong smell) and made them up and they look great at first glance but I have some real issues with how the fabric behaved after that which is super disappointing.

Spoonflower organic knit issues


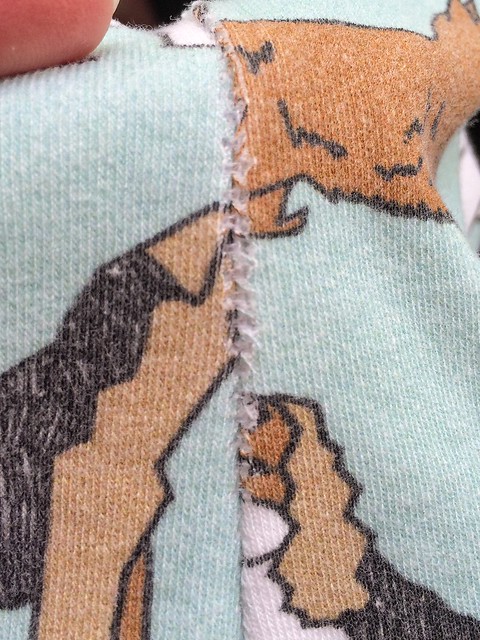
I mostly sewed them using my overlocker and despite having ballpoint needles in, and never having this issue with any other knits, the fabric developed little holes where the needle went in. Here you can see it along one of the side seams. It's almost like the fabric is brittle, in that where it's bent back on itself the stitches have cut at the fabric, along with the hole caused by the needle going in. It's not all that obvious when the seam's not pulled back, but I don't know how long until it looks really tatty. The first wash didn't make it look much worse so I'm hoping for the best.


Spoonflower organic knit issues

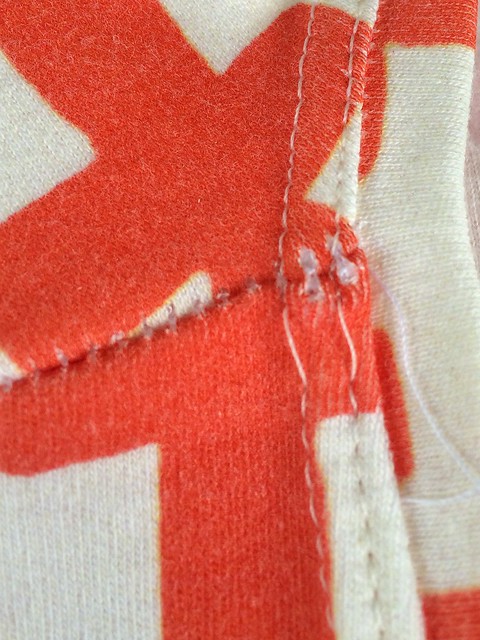
Here it's happened particularly badly at the thick point where the shoulder seam meets the neck binding. The crappy stitching is my machine catching on the seam, can't blame that on Spoonflower! You can also see how it's pulled at the stitches along the shoulder seam.


Spoonflower organic knit issues

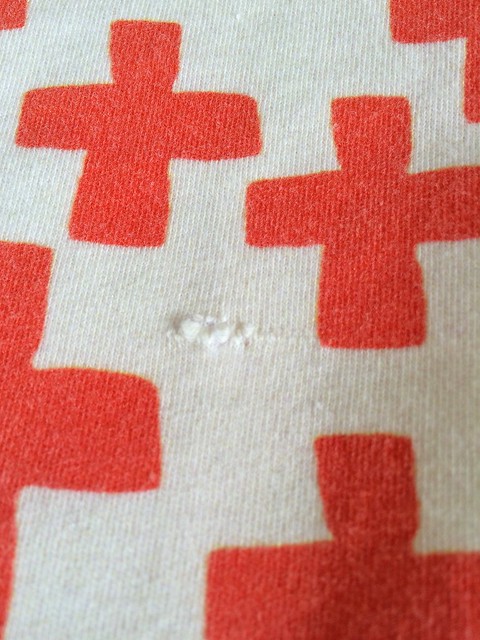
And then to add insult to injury, I discovered that I'd managed to miss a giant slub in the fabric - and placed it dead centre on the front of course.

Spoonflower organic knit issues


So yeah I have a couple of cute tshirts that are wearable but I definitely won't be buying the organic knit fabric again. Anyone have experience with the woven fabrics? I bought some tea towels on the linen/cotton canvas that I'll be curious to see after they've washed.

LinkWithin

Related Posts with Thumbnails