I like efficiency. I like finding a better, quicker, easier way to do anything. And really all that boils down to the fact that I'm, at heart, a very lazy person. If I can expend less energy getting from A to B then I'm all for it. So when I read instructions for wonky stars that want me to cut out lots of squares from various fabrics for the star points then my immediate thought is "do I really have to?". And no, it's not necessary, any old scrap will do if it's big enough as many other tutorials will tell you. But then I had issues with sewing on scraps and they wouldn't fit because I'd estimated wrong - unpicking the seam is time I could spend playing on the internet or with my iPhone, so that was just unacceptable. I also didn't like the wastage involved with some methods I've seen online. Fabric is expensive here in NZ, I'm not throwing away more than I need to. Lazy and cheap - that's me! So I started doing it this way. I'm sure I'm not the only person who does it this way, nor the first to document it, but I thought if it helped just one person spend more time on Instagram I would be doing the world a favour. This isn't a proper tutorial on doing a wonky star, just on making the sections. If you'd like to try making one I really like this tutorial at Oh Fransson!, although you have to add in the extra corner squares if you aren't joining them all together like she does.
The thing I like about doing it this way is that it doesn't matter if you have a small scrap or a large one, and if it's large you can just work in from the edge as you make stars and you don't waste as much as you would if you precut bits. Admittedly, I wasn't quite as careful with the first fabric in this tutorial as I would normally be, but hopefully you get the picture!
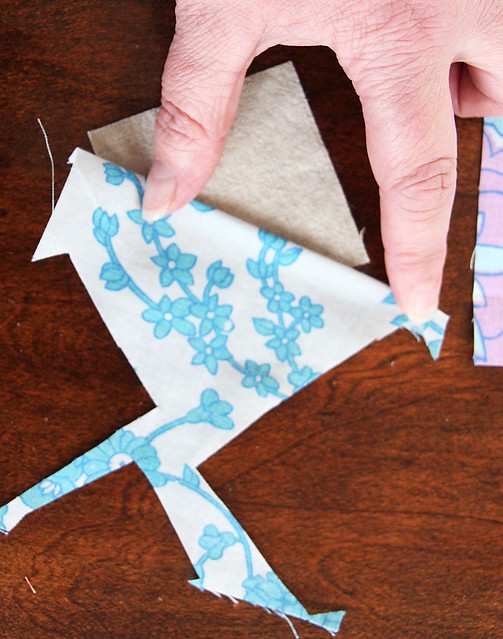
Select your first piece of fabric and fold over the edge about 1/4". It doesn't have to be exact but it does need to be even (please excuse the out-of-focus photos, the camera decided to focus on my wrinkly old hands instead). I finger crease it slightly.
Then flip it over and figure out where you want it on your square.
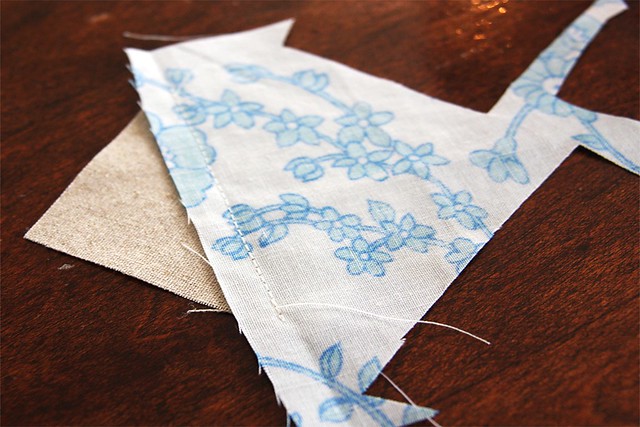
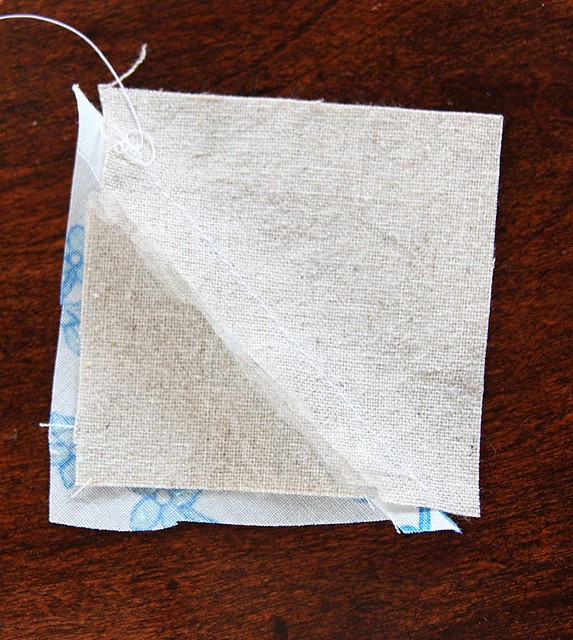
Once you have it where you want it, carefully flip it over and sew along the crease line. I usually just wiggle a couple finger tips under to grab the edge and keep it in place while flipping.
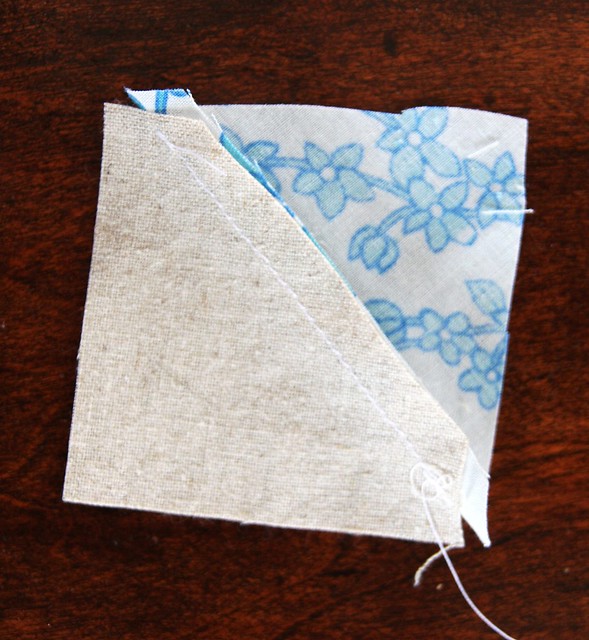
I then open the fabric out and flip it over so I can see the background square. If you can't see fabric all around the background square then you'll need to unpick the seam and try again.
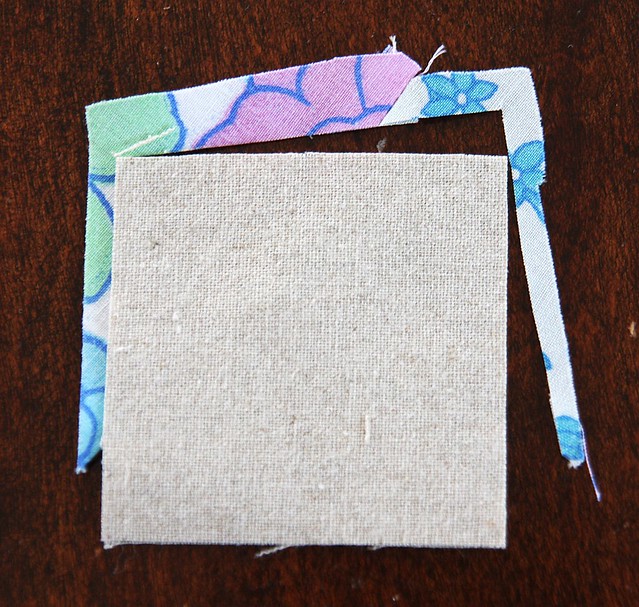
I trim around this to get rid of the excess, leaving a little extra just in case (I forgot and trimmed off the corner before I cut around it, don't be like me! I've Photoshopped it back together, if only we could do that in real life...).
Then trim off the excess background square. To be honest I don't really see the point in worrying whether this is 1/4" or not - who's going to see it? As long as it's wide enough things don't fray through and it's fairly even I call it good enough.
I usually press open my seam with the iron at this point, although you certainly don't have to and can just finger press, I just think it means less distortion and the square will sit flatter in the end.
Now repeat with the second fabric.
Position it on the square with the edge folded over
Flip, and sew down the crease.
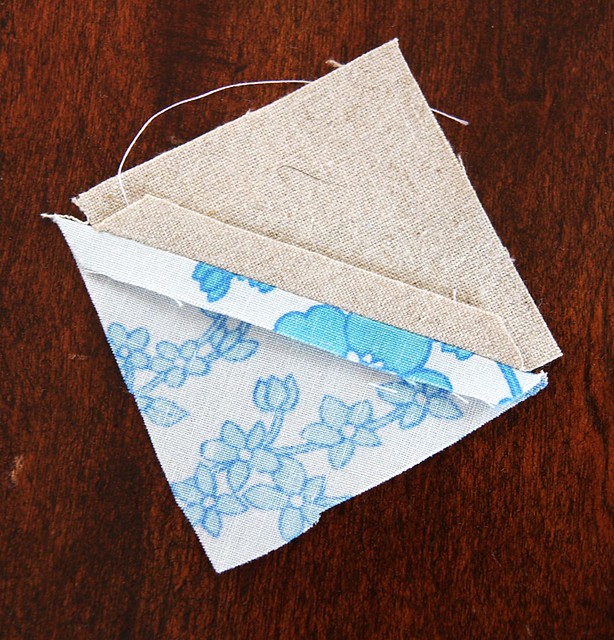
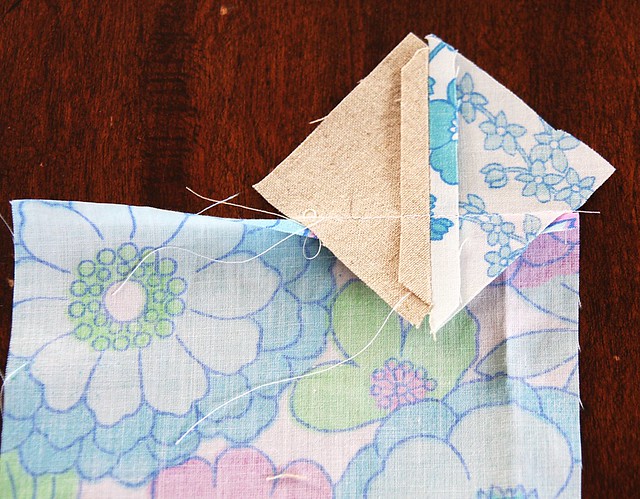
Open up the fabric and trim around the corner. Oh look, cat fur is stuck in the seam! Typical.
The corner will be a bit wonky from adding the first fabric but as long as you allow a smidge extra you won't get caught short when you open it out, which I know from experience is a seriously curse-worthy moment!
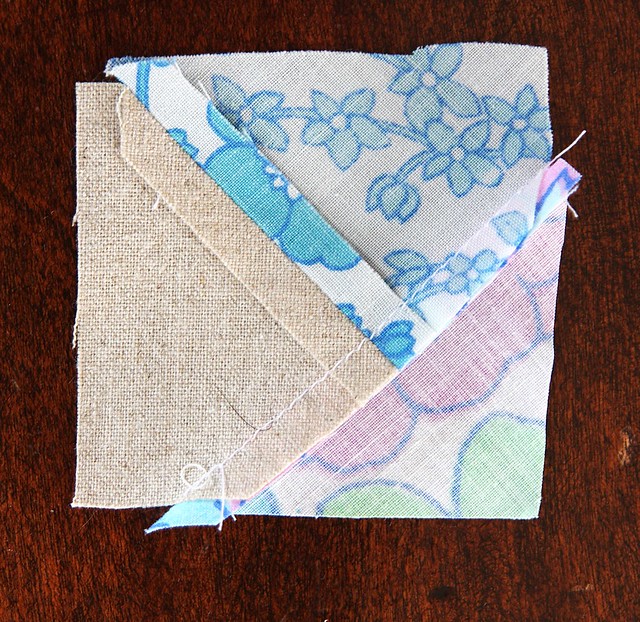
And then trim off the excess corner and press open the seam
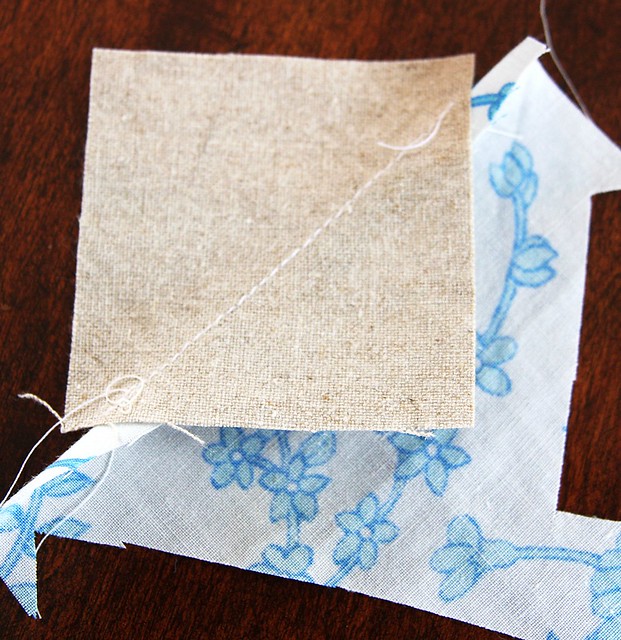
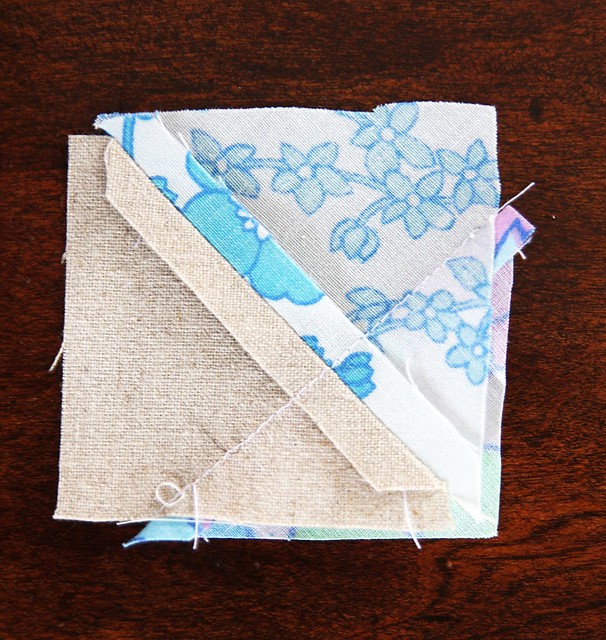
Now the square needs to be trimmed.
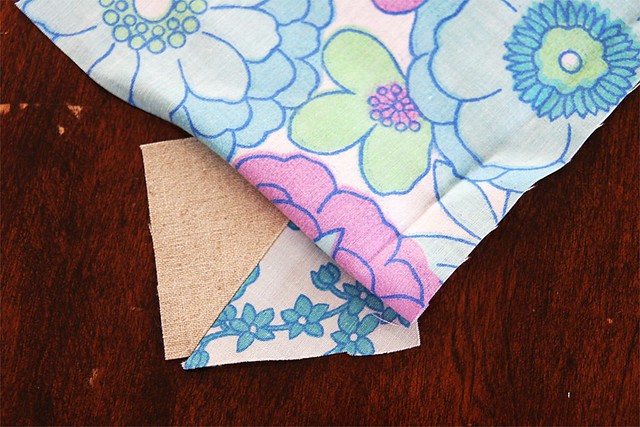
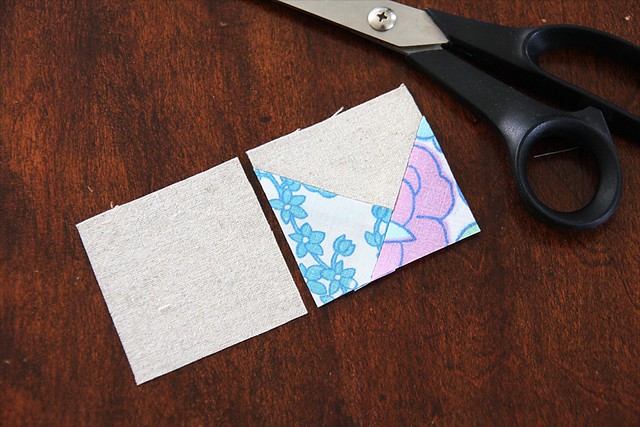
Why pfaff around with a cutting mat when you have a perfect square of just the right size sitting next to you - just grab one of the unused background squares, position it over the top and trim around it carefully. I find this is a great way to square things up again if they've become a bit distorted by the sewing and pressing and much easier to do with another square than to try and figure out on a cutting board.
Et voila! A perfect little square all ready to go.


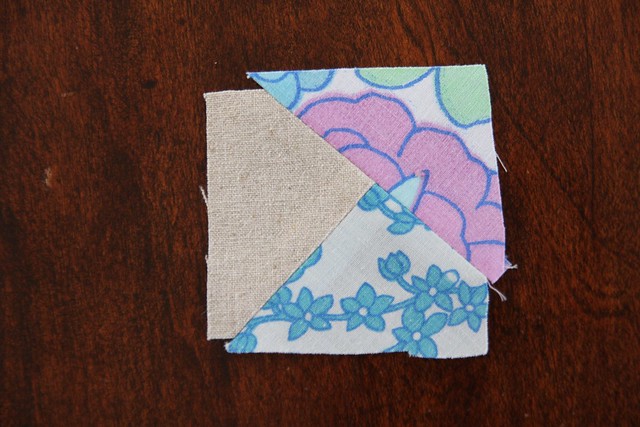
This is my kind of quilting. I love this! I'm sure any purist would be clutching at their heart and cursing right now, but I say pah! to them.
ReplyDeleteLove your photoshopped piece of stuck back together fabric. Made me laugh. I would probably have washi-taped it - well, my kids would have any way. And the cat hair, Oh Jacqui - you kill me. How does cat hair get everywhere like that.
I'm so loving seeing your wonky stars. Really is making me want to start one too. I don't have a vintage sheet collection, so would have to use something else.
Have a sweet weekend. Have you started school holidays yet? Today was last day of school - but I let the kids stay home anyway, as they were only going to watch movies. We had a much better day at home!
Okay - somehow I'm signed in as Ellie B, somehow/somewhere else. It's Ellie Petalplum here. I'm so sick of having all these online personalities - it drives me crazy wondering who I'm signed in as......
ReplyDeleteHmmm, finding the easiest way to do something must be genetic - like father, like daughter.
ReplyDeleteIt's always a bit disturbing when the website knows who you are! But I think you usually come through as Ellie in the comments don't you?
ReplyDeleteWonky stars look great no matter what fabrics you use, they're very forgiving! We haven't started holidays yet, this is the last week and we finish on the 26th. Can't wait! All the kids are tired and grouchy but the juniors are putting on a concert on Friday so no-one can skip it!
ReplyDeleteCat hair is in everything - at least one if you look for it.