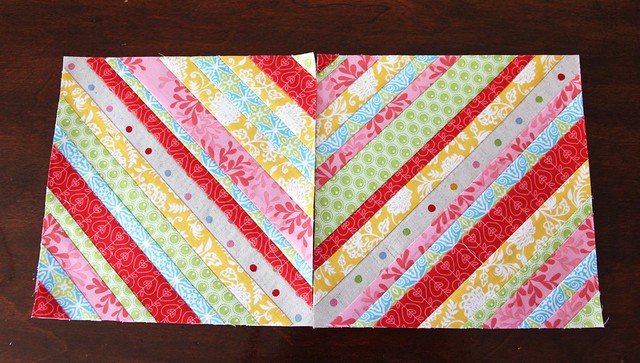
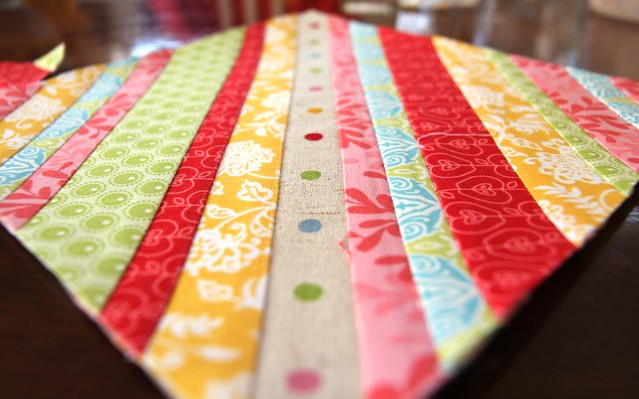
My Monday Modern group has decided to do a bee, and Helen was the first person to get herself organised and the fabric distributed. She's doing a quilt that's a combination of string-pieced blocks and hexagons. She asked the group to do the string pieced blocks and provided us with a central strip of spotted linen and five other fabrics for the rest of the strings. Seeing as we meet this coming Monday I figured I should get it done so I can spend some time getting my block fabrics sorted to take along!
I've never done a string block, but as this one uses a paper foundation it promised to be fairly easy. And actually it was, but only by the skin of my teeth because I literally had a small handful of tiny scraps left over at the end! I think that's a combination of Helen's good estimating and my profligacy with the way I put the first block together. At first I was centering the fabric strips without much thought for how much was hanging over the edges to be trimmed. I realised fairly quickly that I should be placing the end of the strip just a bit further than it needed to be, and saving the excess at the other end for the shorter runs. I knew I had some of the pink she is using so I could have cut a strip of that, but in the end it was just enough. I was quite proud of myself!
The one thing I did stuff up a bit was in drawing the 8 1/2" square of lunch paper I used for the blocks, one side was about 2mm under (whatever that is in inches), consequently a couple of strips are a smidge on the short side and the centre strip isn't exactly centre, but I'm pretty sure that will be absorbed in the seam allowance and all will be fine.
I love how cheerful and bright the blocks are without being too busy - and boy are they fast to sew up! If only I had more scraps...
31 August, 2012
22 August, 2012
Learning to crochet
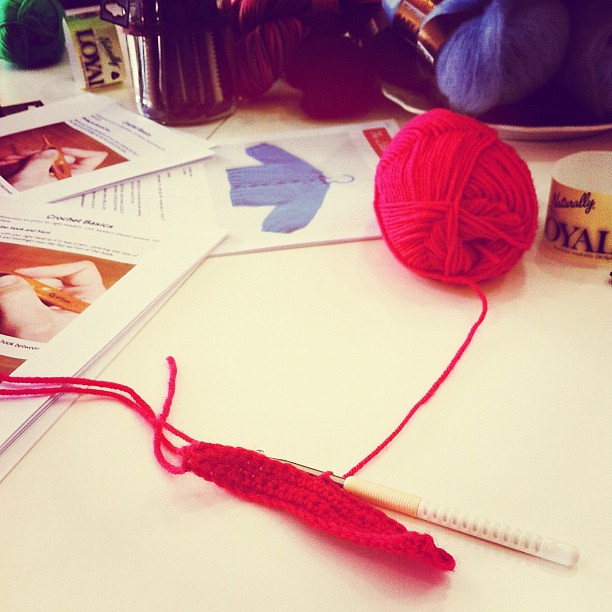
I had a board on Pinterest for awhile that said "One day I will learn to knit and crochet" and I really did think it was just a someday kind of thing. Then The Little Craft Store offered crochet for beginners lessons and I knew if I didn't carpe diem then I'd never get around to it. Despite arriving for the first lesson just as it was ending, I have actually managed to crochet! I made sure I was there at the right time for the next lesson and the teacher Jeneatte taught me double and half-treble crochet. To be honest I had no freaking idea what I was doing that first lesson. I sort of got the hang of it but I didn't really know why it was working or which holes to poke the hook in to and frankly my brain hurt and went all fuzzy by the end.
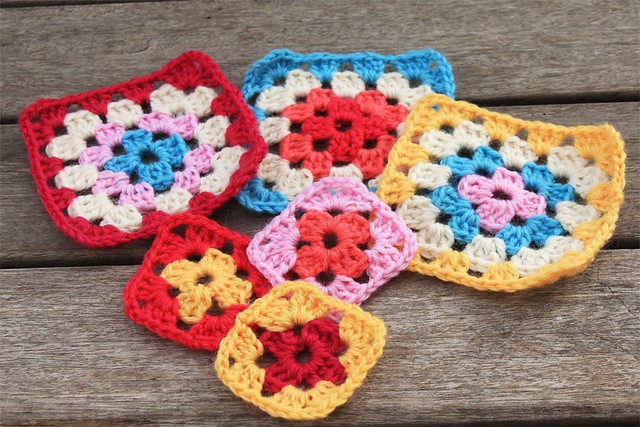
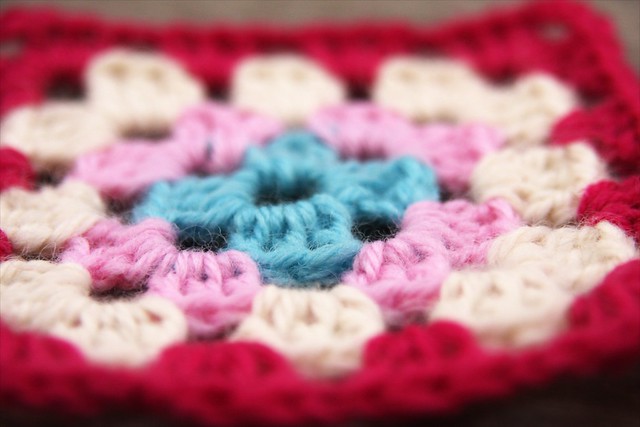
But I practiced at home over the next week and amazingly, by the time Thursday rolled around again I was actually doing it reasonably well. Slow, but yeah, not bad! Next lesson was treble and double-treble, which was pretty easy and made sense. There was some talk of granny squares so Jeneatte showed us how to make one. Like the first lesson, the first few rounds of the granny square were definitely of the WTF variety, I had NO idea what I was doing or why, but she was very patient! "No, a three chain, not one. No, into here. No, you're doing a corner now. The hook goes in here, see?" And then after I'd done 3 rounds it began to make sense and starting another one was easy because I knew how it was constructed. We only did single colours but I got so enthusiastic about it that I bought some more wool from Helen and the next day I went to Meet Me At Mike's 'Granny a Day' page, watched the videos on how to switch colours and was away! I did these on Sunday. I ran out of the white I had so need to get some more before I can finish those three in the front.
Mat says I'm obsessed. But then he suggested I should add in some soft pale green so I think he might kind of approve.
I'm using a 4.5 hook so they're a bit chunky but I think that's good because the blanket will go faster!
My Pinterest board is now called I am learning to crochet
19 August, 2012
Polaroid Quilt
Awhile back I posted some photos of the Polaroids I'd made for my Monday Night Modern quilt group (ok we're still arguing about our name but I think it's some sort of variation on that theme!). We put all of them in a pile and then sorted them out by colour and all took a pile home to turn into a quilt for the NICU unit at Starship. I hadn't managed to get the binding on for the last meeting, but it went in on Thursday when I had my second crochet lesson! But that's another post ;)
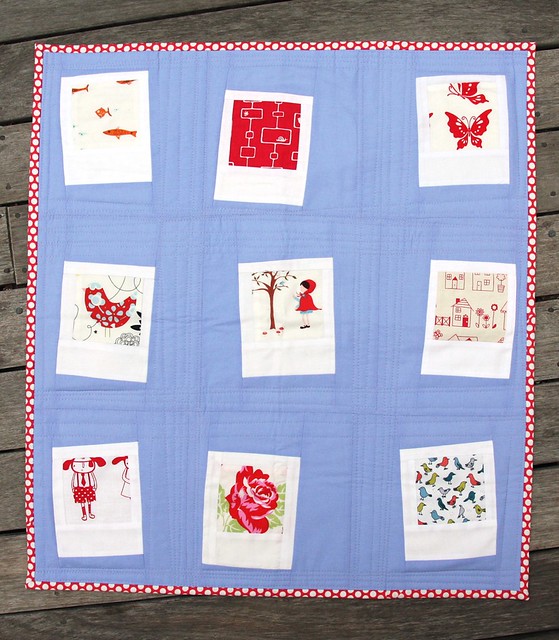
I got lucky with the red blocks, and they went beautifully with this blue. Making them really wonky wasn't hard, but it made quilting it a real pain because all the bias along the edges caused a lot of stretching in places. It's ok, and I'm sure with a good wash it'll all crinkle up and not be so obvious but it buts me none-the-less! The spotty binding is very cute, and if it weren't destined for a very deserving tiny baby then I'd totally keep it for myself!

I got lucky with the red blocks, and they went beautifully with this blue. Making them really wonky wasn't hard, but it made quilting it a real pain because all the bias along the edges caused a lot of stretching in places. It's ok, and I'm sure with a good wash it'll all crinkle up and not be so obvious but it buts me none-the-less! The spotty binding is very cute, and if it weren't destined for a very deserving tiny baby then I'd totally keep it for myself!
Labels:
challenge,
Monday night quilt group,
polaroid,
quilt
16 August, 2012
Fabric printing
I've been hanging out to do some fabric printing for ages, and have assembled some supplies and books, but had sort of worked myself up into anxiety over how it was all done and consequently haven't ever done any. On the other hand, Heleen is a pro and she offered for me to come over and do some printing with her and just get a start. I went over Tuesday, along with Lesley, and had the best time. The Best. And of course it's not nearly as hard as I'd built it up to be - you just have to start. Who would have thought!? Heleen took some more photos of what we did so pop over there if you're interested!
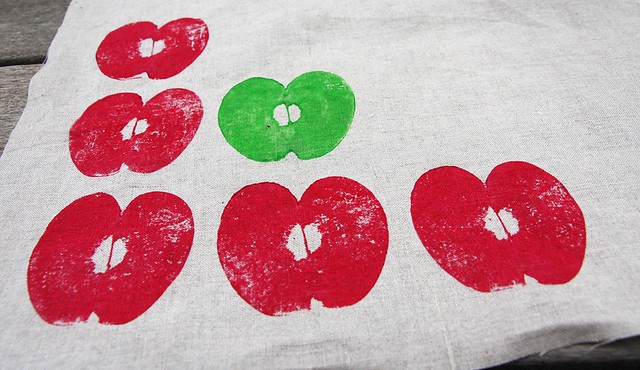
I had plans to do all sorts of things, but I decided to start off with some apple printing because I'd fallen in love with this pin on Pinterest (funny though, I thought I'd copied the red and green colour scheme but it turns out I hadn't! At least not from that pin...). I took this photo with my phone and Instagrammed it yesterday:
Of course what with the filters etc. that photo isn't particularly realistic! Typical IG image really. This is the final result, barring a hem and a purpose.
It was a fun process and I can see a few more of these in my future! I had sort of imagined I'd make a tea towel with it, but the linen isn't really suitable and I didn't cut a big enough piece anyways, so not sure what I'm going to do with it! I didn't actually get much further than that to be honest, too busy talking, eating nice food and trying to take a photo of a tui in the cherry blossoms (unsuccessfully).
So I'll be off to the art supply shop in the near future to get myself some proper pots of paint and a roller thing.
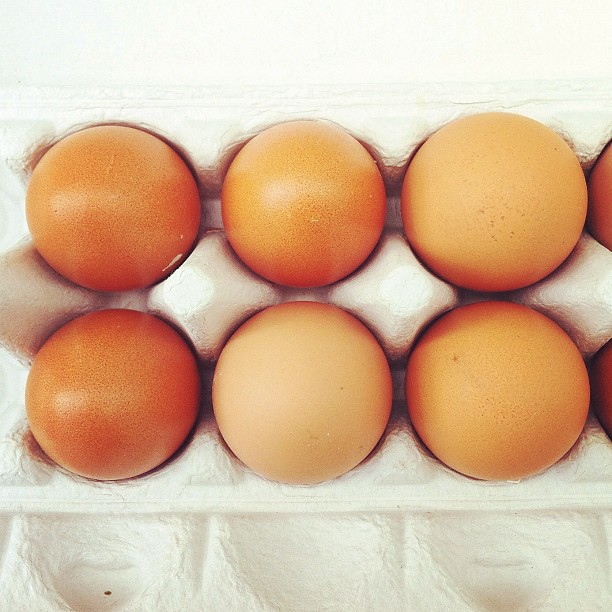
Heleen gifted me some of the eggs from her chickens, and they made a marvellous Instagram photo too.

15 August, 2012
Party loot
I have a love/hate relationship with making favour bags every year. It's not that I mind doing them like some people do, because I grew up with them. No, it's the battle between buying the bags and everything in them and remaining sane and relaxed, and making most of it and buying a few things and being slightly harassed and rather stressed before each birthday party. Of course the latter wins out every time because I can't resist, but yeah love/hate!
This year I made 8 zippy pouches using Elizabeth Hartman's Perfect Zip Bags pattern and 8 personal pinatas from Lotta Magazine. I wanted to do the pinatas because we weren't having the party at home and couldn't have one at the climbing wall, but I do love a good pinata! These were the perfect solution - packed with glitter and the mess was made at the kids' houses. Basically they're toilet rolls with cardboard circles in the bottom and top, held on with tissue paper which is strong enough to hold everything in, but when you yank the string on the bottom, the stopper pulls out easily and it all falls down. Brilliant idea and worked perfectly.
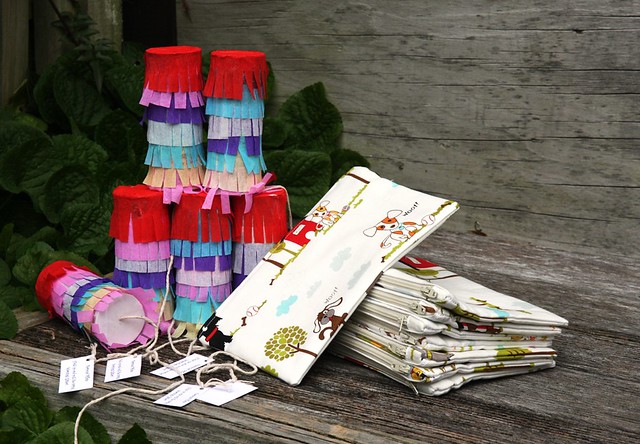
Hazel chose the puppy fabric and the girls all seemed really happy with the pouches, which was nice. They're rather charming! I added a little pink ribbon to the zippers so they looked more 'girly' but I don't think I needed to bother. I never know when they're going to go all gender-specific on me and when they won't! Always happier with the latter of course.
This year I made 8 zippy pouches using Elizabeth Hartman's Perfect Zip Bags pattern and 8 personal pinatas from Lotta Magazine. I wanted to do the pinatas because we weren't having the party at home and couldn't have one at the climbing wall, but I do love a good pinata! These were the perfect solution - packed with glitter and the mess was made at the kids' houses. Basically they're toilet rolls with cardboard circles in the bottom and top, held on with tissue paper which is strong enough to hold everything in, but when you yank the string on the bottom, the stopper pulls out easily and it all falls down. Brilliant idea and worked perfectly.

Hazel chose the puppy fabric and the girls all seemed really happy with the pouches, which was nice. They're rather charming! I added a little pink ribbon to the zippers so they looked more 'girly' but I don't think I needed to bother. I never know when they're going to go all gender-specific on me and when they won't! Always happier with the latter of course.
05 August, 2012
Birthday party invitation
Man, it's that time of year again and I'll have a seven year old on my hands in the next little while. I'm still getting my head around that! We got the idea for her party invitations from the Travel Issue of Lotta Magazine, and I think they turned out really well (once I got my technique down-pat!). If you don't know Lotta Magazine you should, especially if you have kids! It's an ad-free kids' activity magazine out of Australia and I love it.
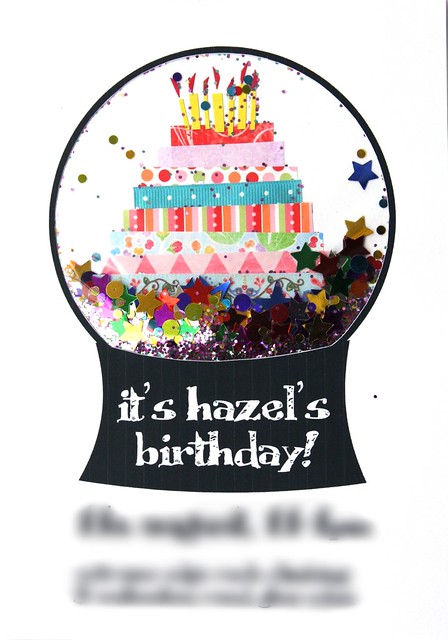
Basically it's just an A4 piece of card folded in half with plastic over a window and behind that is an image. You fill up the space with glitter and confetti and then glue it all down and it's a snow globe!
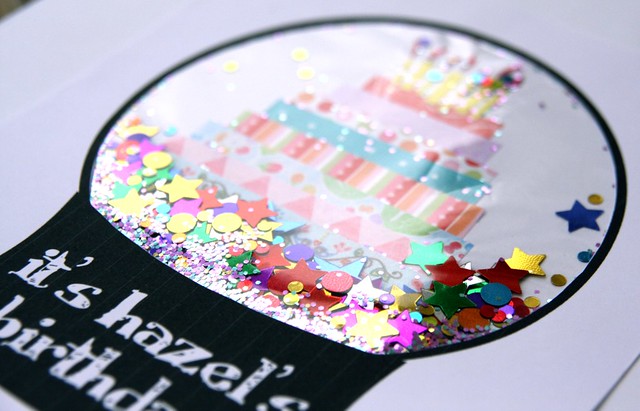
It's actually a bit trickier than they made it sound, and instead of gluing around the window, I used double-sided sticky tape. The glue wouldn't stick to the plastic and tape and so all the glitter fell into the space around the hole instead of staying inside the dome. The tape worked really well, although it was a bit labour-intensive. The other issue is gluing all the stuff down without getting glue on top of the image, as you can see by the glitter clustered around the candles, I didn't quite manage it with the tiny pieces!
Basically it's just an A4 piece of card folded in half with plastic over a window and behind that is an image. You fill up the space with glitter and confetti and then glue it all down and it's a snow globe!

It's actually a bit trickier than they made it sound, and instead of gluing around the window, I used double-sided sticky tape. The glue wouldn't stick to the plastic and tape and so all the glitter fell into the space around the hole instead of staying inside the dome. The tape worked really well, although it was a bit labour-intensive. The other issue is gluing all the stuff down without getting glue on top of the image, as you can see by the glitter clustered around the candles, I didn't quite manage it with the tiny pieces!
Subscribe to:
Comments (Atom)
